Electroforming is Art, Science and Alchemy all together. Electricity and Chemistry will encounter Geology, Botany, Sculpting, Metallurgy, Painting, Anatomy, Cryptozoology, Paleontology and more than you can think.
In this blog, I'll explain all the necessary steps to achieve the knowledge to practice this Beautiful Art.
Mastering the Art of Metal Patinas: A Step-by-Step Guide to Crafting Solid Liver of Sulfur
Metalwork enthusiasts, gather around! Today, we're diving into the captivating realm of solid liver of sulfur, the secret sauce behind those stunning and enduring patinas that elevate your creations. Buckle up as we take you through a step-by-step journey on how to create your own solid liver of sulfur – a game-changer in the world of metal crafting.
Ingredients and Tools:
Before we embark on this adventure, let's gather the essentials:
Safety first! Wear gloves and a dust mask, and set up your workspace under a fume extractor or in a well-ventilated outdoor area. Cover your workspace with aluminum foil – this process can get a bit messy.
Step 2: Dissolving Sodium Hydroxide
Place the small beaker with 40 ml of distilled water on the electric stove. Carefully add 40 grams of sodium hydroxide and dissolve it. Take extra caution – sodium hydroxide is potent!
Step 3: Introducing Sulfur
Once the sodium hydroxide is dissolved, bring the solution to a boil. Add 16 grams of sulfur, and observe the magic unfold as the solution turns yellow. This signals the reaction, with sodium hydroxide and sulfur transforming into sodium sulfide.
Step 4: Stirring to Perfection
Keep stirring until the liquid transforms into a reddish-brown color. This process typically takes around 20 minutes. The appearance of solid parts indicates progress.
Step 5: Molding the Magic
As the volume reduces to around 40 ml, turn off the heat. Pour the hot liquid into a silicon mold and let it cool, witnessing the transformation from liquid to solid.
Step 6: Optional Drying
After the solid liver of sulfur cools and get hard, consider further drying for complete moisture removal. Using a vacuum pump is optional but ensures a completely dry final product.
Step 7: Create with the Power of chemistry
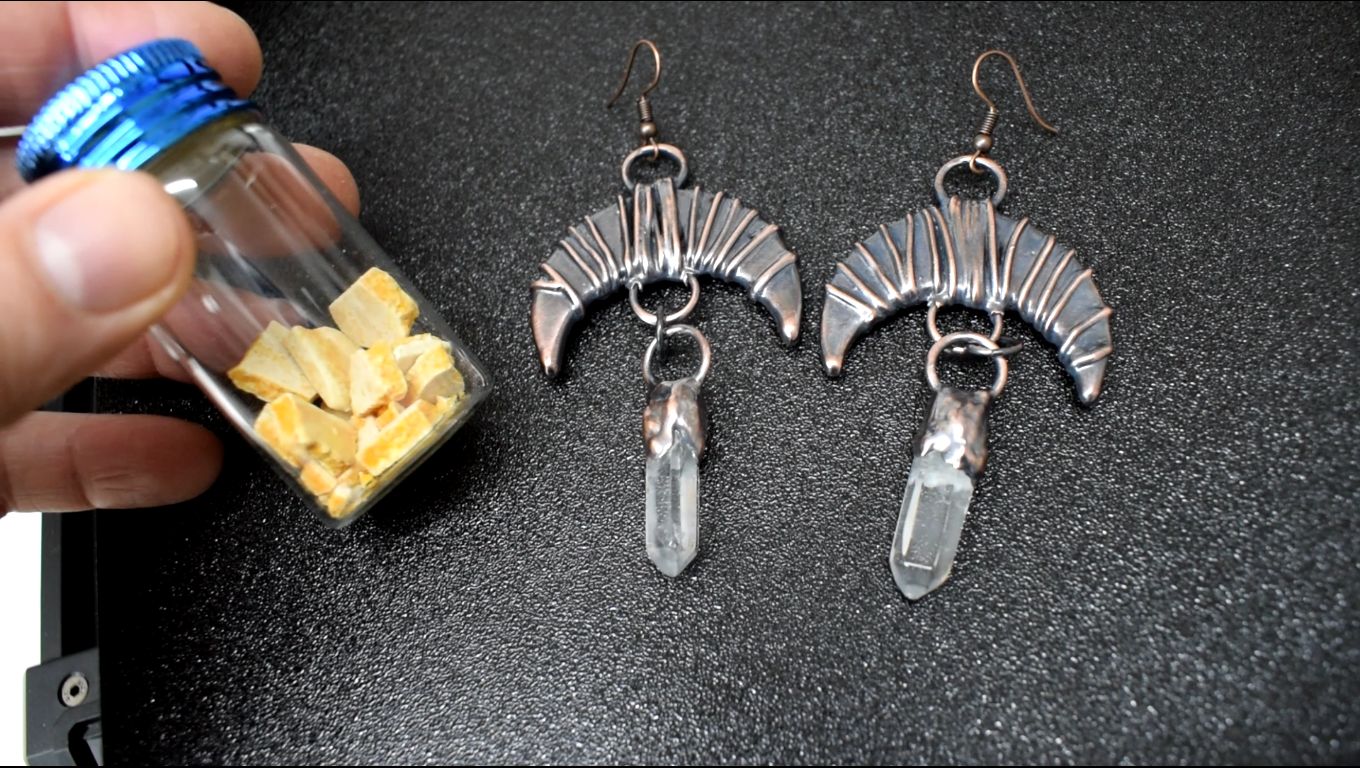
Once solid, put your creation to its final use. It can work on various metals like Copper or Silver – from creating vibrant rainbow patinas to achieving a sleek black finish.
Here's what you need:
A chunk of solid liver of sulfur
Metal jewelry pieces (e.g., earrings)
Warm water
Instructions:
Prepare a Warm Bath:
Fill a container with warm water. The warmth of the water will dissolve the liver of sulfur faster and expedite the patina process.
Dissolve the Liver of Sulfur:
Take a small chunk of your solid liver of sulfur. Dissolve it in the warm water. The amount will depend on the size and quantity of the jewelry pieces you want to patinate. Start with a small amount, as a little goes a long way.
Immerse Your Jewelry:
Gently place your metal jewelry pieces into the dissolved liver of sulfur solution. Ensure that each piece is fully submerged.
Observe the Transformation:
Watch as the patina begins to form. Liver of sulfur reacts with the metal, creating beautiful and unique color variations. The duration of immersion will influence the intensity of the patina, from rainbow to black, so keep an eye on the process.
Adjust as Needed:
If you desire a darker patina, leave the jewelry in the solution for a longer duration. For a lighter patina, reduce the immersion time. Feel free to experiment to achieve the perfect shade for your artistic vision.
Remove and Rinse:
Once you're satisfied with the patina, carefully remove the jewelry from the solution. Rinse them thoroughly under running water to halt the chemical reaction and wash away any residual liver of sulfur.
Let Them Shine:
Allow the patinated jewelry to air-dry and, to revel the unique character of the metal underneath, polish the patina away with a steel wool scouring pad to admire the stunning transformation that each piece now possesses.
Step 8: Storing Your Product
Solid liver of sulfur is moisture-sensitive, so store it in a sealed container to prevent it from becoming wet. Consider using a vacuum pump for added protection.
Congratulations! You've just crafted your own solid liver of sulfur, ready to breathe life into your metalwork. Remember, patience is key, and the results are undoubtedly worth the effort. Share your experiences and creations with the community, and let's keep the metal crafting magic alive!
Don't forget to watch the related video on YouTube for a visual experience. Leave a like and consider subscribe to my channel for more of these adventures.
How to Set Up Your Power Supply and Calculate the right Current for Electroforming
Hey there, fellow electroformers!
Today, we're diving into the electrifying world of current. If you've ever
wondered how to get that perfect copper coating on your jewelry, you're in for
a treat. I'm about to spill the beans on how to master the current. Grab
yourself an adjustable power supply, mistakenly called rectifier, to give the
current needed for your objects to get coated and let's get started.
Creating stunning copper art pieces
through electroforming, starts with measuring your objects. Before you dive
them into the electroforming tank, you need to understand the relationship
between the object's surface and the current. This is what ensures that you'll
get the perfect copper coating you've been dreaming of.
The juicy part is figuring out how to measure your objects and dial in the
right current.
First Way
If your objects are all nice and symmetrical, you can use
basic geometric formulas, like circles, triangles, rectangles, to calculate the
surface area. Use the appropriate formulas for each shape to calculate the
surface area. It's a perfect method for objects that fit neatly into these
geometric categories.
Second Way
What if
you've got an object that's as irregular as your Monday morning bedhead? No
worries! Grab a piece of paper, trace the object's silhouette, and draw squares
all inside it. Choose the measuring system you like, the metric system, or the
imperial one, and fill the shape by adding up squares, half squares, and
quarter ones. Then sum them, one by one, to calculate the total surface area of
your object. You can use a transparent sheet on a squared mat, like I do, to
make it easier.
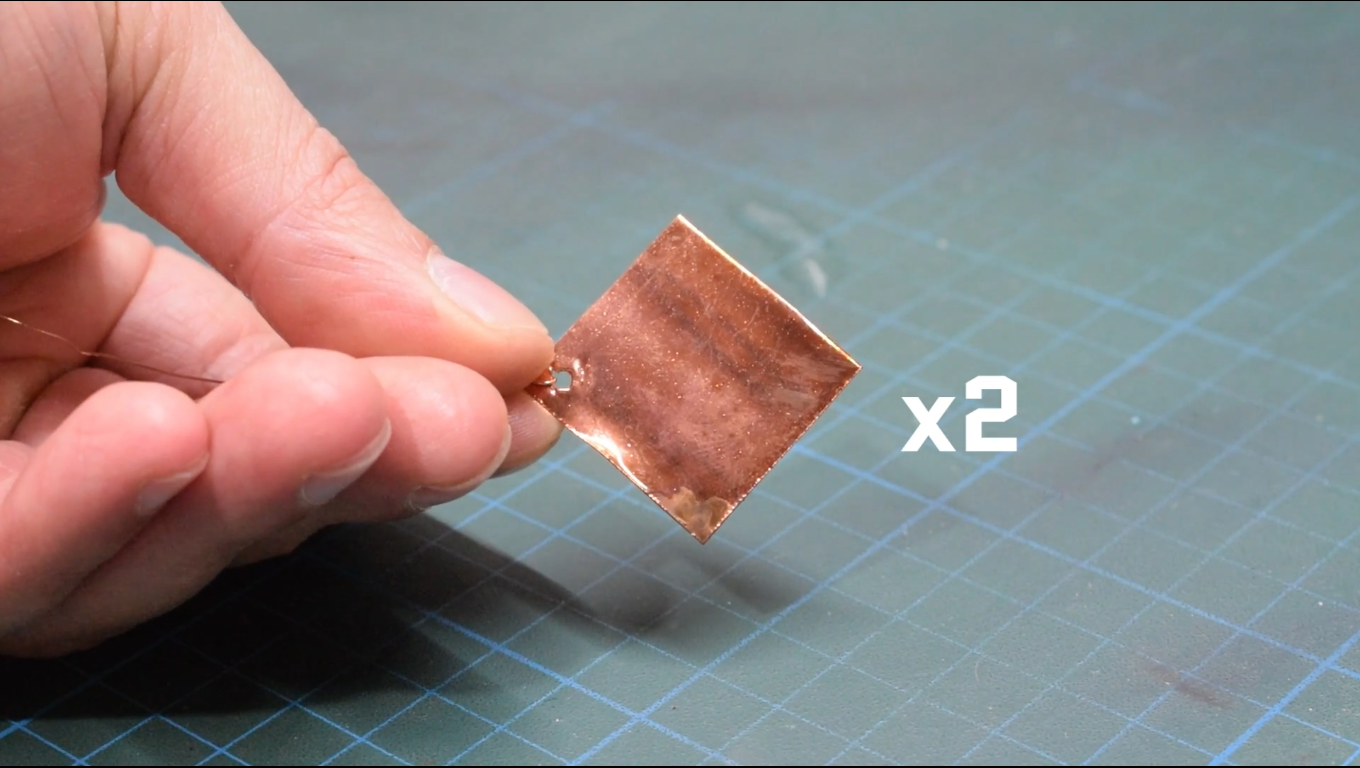
If the object has two faces,
double your calculation since both sides will get the copper on.
No need to get too precise; it's not
a math competition. Approximations will do the trick to get the ball rolling.
You can always fine-tune your current later.
Surface and Current Relationship
The secret recipe for of a good
relationship between these two parameters, is The Constant Values of Current.
I have it for both centimeters and inches, so you've got all your bases
covered. This is gonna bring you to the electroforming success!
For Centimeters (cm): There's a sweet spot for current values that work like a
charm for most electroforming solutions on the market, as well as those you
might whip up for your own DIY projects. To make life a bit easier, I've
expanded the range around this number to give you some wiggle room and avoid
any unexpected hiccups.
Here are the constant values to
multiply by the centimeter square:
Minimum:
0.004 amperes
Medium:
0.02 amperes
Maximum:
0.04 amperes
So, for example, if your object's
surface area measures 30 centimeters square, you'd be looking at:
Minimum: 0.12 amperes
Medium: 0.60 amperes
Maximum: 1.20 amperes
For Inches: If you prefer working in inches, I've got you covered as
well. Here are the constant values for square inches:
Minimum:
0.01 amperes
Medium:
0.05 amperes
Maximum:
0.1 amperes
So, if your object's surface area is
measured in square inches, apply these values accordingly to get the right
current for your electroforming experience.
The current levels you choose can
have a profound impact on the outcome of your copper creations. Understanding
how copper behaves at different current levels is the secret to master this
art.
Minimum Current Level
When you set your current at the
minimum recommended value, it's like putting your electroforming process into a
slumber state. At this level, the copper deposition is minimal, and it's often
not even noticeable. This means that if you want your object to start working,
you'll need to increase the current.
When you set your current close to
the minimum, you're essentially taking things slow and steady. This approach
allows the copper coating process to work with patience. You'll get a copper
coat that's not only strong and precise, but also one that highlights and
emphasizes the original texture of your object. It's like bringing out the
unique details and features of your creation, making them stand out.
Going below the minimum value of
current in the electroforming process means setting the current lower than
what's required for the reaction to take place effectively. At this extremely
low current, copper ions won't be deposited onto your object, and you won't see
any copper coating forming.
When in doubt, remember that low and
slow is a choice that ensures your electroformed piece excellence, and it will
avoid any possible trouble you could encounter.
Medium Current Level
At the medium current level, you'll
achieve a consistent and controlled deposition of copper onto your object.
Setting your current at the medium value strikes a balance between speed and
texture. This level offers the best chance of speed without causing issues like
burnt or brittle copper with some deprivation. The copper coat that forms at
this level will be thicker, adding an extra layer of copper. This thickness can
mask some of the finer details and original texture of your object, making them
less evident and pronounced. Choosing the medium value is opting for a blend of
speed and substance with the loss of intricate details.
Maximum Current Level
Setting your current at the maximum
value means you're pushing the electroforming process to its limits. It's like
unleashing a burst of energy. It can indeed lead to an irregular deposition of
copper, often resulting in bumps and peaks on the copper coat. This can create
a textured or uneven surface on your electroformed object, which may or may not
be the desired effect for your artistic creation. It's crucial to understand
the potential outcomes and make an informed choice when selecting the current
value for your electroforming project. However, it's important to exercise
caution at this level. Going near or above this level can cause issues such as
a burnt or brittle copper coat, which may cause further issues on the piece or
even to your electroforming solution. So, if you're considering this level, do
so with care and monitor the process closely.
It's essential to remember
that these values are not strict rules, but rather guidelines to help you
navigate your electroforming journey. The actual current levels can vary
depending on the specific electroforming solution, power supply, and setup
you're using. It's all part of the creative process, and sometimes a bit of
trial and error is needed to find the perfect balance
How to set up your power supply
Now that you've understood about all
the calculations, it's time to put your hands on the device that produce the
current. It can be set in two different ways, for different experiences.
It's time to talk about CC mode
(Constant Current) and CV mode (Constant Voltage).
CC Mode:
With the CC mode, the goal is to
achieve a consistent deposition of copper ions onto your objects. This is the
go-to method for many electroformers, especially beginners. It's relatively
easy to control and allows you to let your setup run unattended for extended
periods.
Here's how to set up your power
supply for CC mode:
Voltage Knobs:
Turn these all the way up, as high as they go.
Current Knobs:
Turn these all the way down, as low as they go.
Once you've got your setup in CC
mode, your LED indicator named CC will stay on, only after you connect your
object and dip it into the electroforming solution.
This setup ensures that your current
stays constant, having control over the amperes.
Use the coarse knob for consistent,
gradual increases in current, and the fine knobfor more precise
adjustments. By understanding how they work, you can fine-tune your amperes as
you wish.
Now, you can let your setup do its
thing for hours or even days.
CV Mode: Constant Voltage Mode
In CV mode, the process is a bit
different. You'll need some patience and a watchful eye because, unlike CC
mode, you can't simply set the current at your desired value right from the
start. You've got to check the process constantly
Here's how to set up your power
supply for CV mode:
Current Knobs:
Crank these up, turning them all the way to the max.
Voltage Knobs:Turn
these all the way down, as low as they go.
The LED indicator named CV will stay
on.
The current in CV mode increases
over time as the resistance decreases as copper gradually coats the surface.
You'll need to start at the lowest value of current and wait for the graphite to
get coated in copper before you can start dialing up with the right level.
Here's how it typically goes:
At first, the current must be kept on low because
there's the graphite creating resistance.
As the copper deposition progresses, the resistance
decreases, and the current starts to climb.
Eventually, the current will stabilize, and you'll have
a consistent flow.
After this, you're in control, and
you can decide whether you want to keep the current at this level or dial it up
to a medium or higher value. In CV mode, you need to keep a close eye on your
setup and check it regularly, allowing for more flexibility in adjusting the
current as you go on the cost of your free time.
So, there you have it – the two main
modes for controlling the current in electroforming. Whether you prefer CC or
CV mode, you're well on your way to mastering this art.
Possible Issues
Electroforming is an exciting journey, and you have to consider that it can have its fair share of challenges. Here's the potential pitfalls along the way caused by current.
Too Low Current
When your current is set below the minimum recommended value, you won't get any copper deposition on your object. So, don't skimp on the current; make sure it's above the minimum to get the party started.
Too High Current
On the flip side, if you crank up the current to extreme levels, you'll end up with a burnt and brittle copper coat that resembles a bad hair day. Keep it within the recommended maximum value to avoid this less-than-ideal outcome.
Anode Worn-Out
Anodes play a crucial role in the electroforming process. If they wear out over time, and you don't add more, it can lead to low current and instability. This can be noticed using the CV mode. Keep an eye on your anodes and replace them when needed.
An Unexpected Look
Sometimes, electroforming can surprise you. Objects electroformed at different current values can result in varying textures and finishes. This unpredictability is part of the charm, but can be a challenge if you're seeking for consistent results. The copper coating might be smooth and sleek, or it might sport a rugged and textured appearance. When you push the boundaries and crank the current up, the outcome can result in an irregular deposition of copper, with bumps and peaks on the copper coat.
You're finally set to conquer the world of electroforming. Whether you're a pro or just starting, the knowledge of current is in your hand. Remember, the numbers and values we shared are a guideline because every setup and solution is unique. Thanks for joining me on this electrifying journey! I appreciate you, and I hope you're feeling ready to electroform like a champ.
Don't Forget to Watch My YouTube Video! You can see in details the demonstration of all this on my YouTube channel. Go ahead, click that link, and I'll see you there! Enjoy, and happy crafting!