Let's see what happened in the part 1 of this tutorial:
I have electroformed maple leaves that are organics. By analyzing them now, we can notice two issues.
There are straight lines of copper formation, this means that the copper ions flow, goes just in one direction. To solve this problem, we add to our equipment a magnetic stirrer. It will move all the ions in the solution and break the flow, so that the copper adhesion will be homogeneous.

And, we have a second issue: roughness. This problem comes for three reasons: the electroforming solution is raw with no additives. Anodes could have release particles that got attracted to our leaf, creating this rough effect. And it also could be an operator's fault. Maybe I left it running for too long.
We are going to add a brightener and/or a smoother in the solution. An anode bag on our electrodes to filter all the detaching parts and, to be sure we don't leave our bath going on its own for too long, we add a timer. With all these adjustments, we will solve the second issue.
To filter particles that could get detached from the anode bars, an Anode bag is commonly used. They are very expensive and can get dirty and even ruined very fast. A cheap solution is to use dust cloths. I show how to prepare them in my first video, check it out. Any kind of synthetic cloth can be used.
Of course, professional anode bags have a finer texture, they can filter the solution at 1 micron dimension (1u).

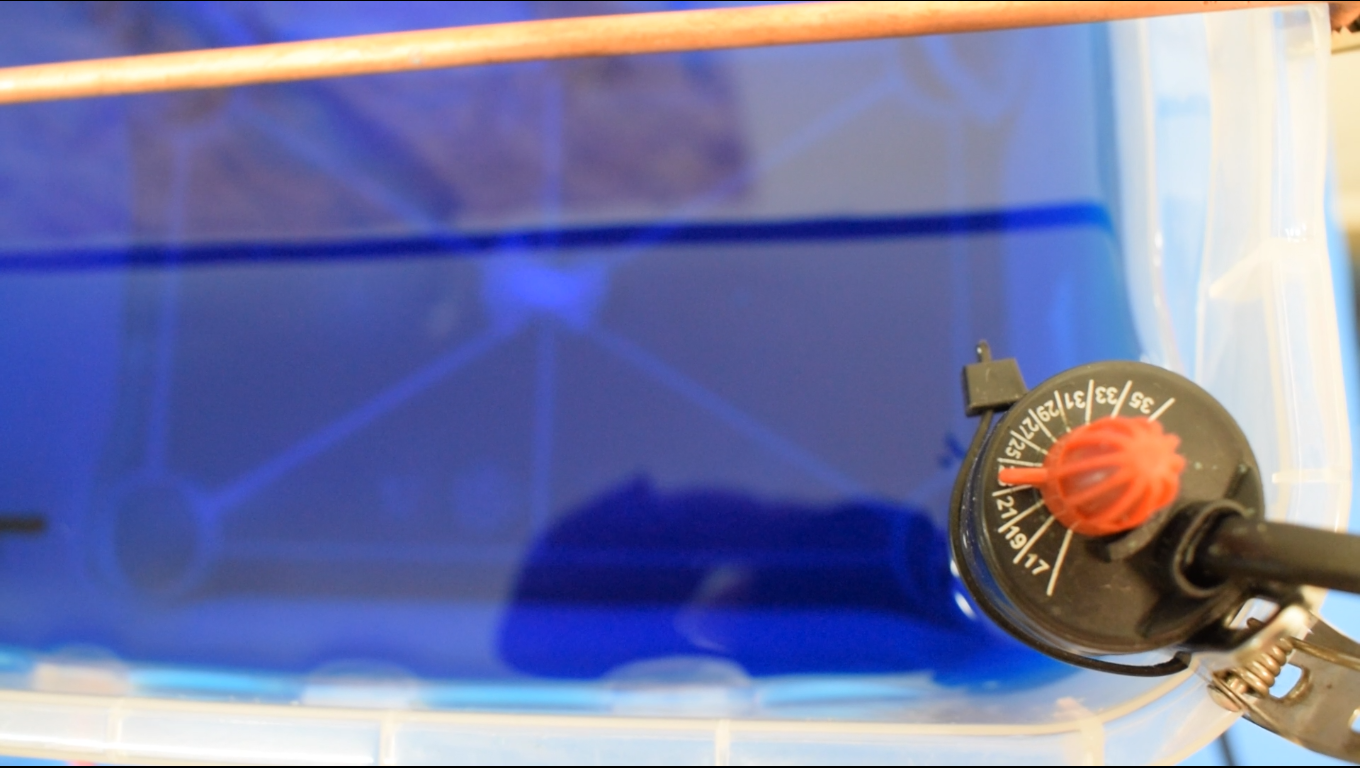
A timer connected to the Power supply can be helpful, but it will bring us another issue. When the timer shut off the power supply and there will be no current running in the bath we will avoid the growing of the copper on our piece which will still be submerged in the solution, The acid will corrode the piece and the luster will go away.

Another factor that might have affect our result is temperature. The temperature of the solution needs to be in a range between 15 °C and 30 °C. To keep it constant, we need something to heat the solution and a thermometer to help us on the read. We can use an aquarium heater that goes inside the solution itself. I usually keep the heater at 23 °C and in the summer without heater it goes around 27 °C. We can also play with the temperature, experimenting going up and down around 23 °C to achieve different textures.


All this stuff requires a bigger space to be fitted in, so we are going to change the container with a bigger one.
All new supplies needed
- Bigger tank https://amzn.to/3GrrmXT | https://ebay.to/3vjWPtg
- Anode bag: https://ebay.to/3paA7QE
or Dust cloths: https://amzn.to/3AP8JMB | https://ebay.to/3hkPCRn - Thermometer https://amzn.to/3gssd00 | https://ebay.to/3LYQv03
- Aquarium heater: https://amzn.to/3L4zQI7 | https://ebay.to/3BLwLZn
- Magnetic stirrer: https://amzn.to/3L43aOP | https://ebay.to/36IGzYN
- Stir bar: https://amzn.to/3HqzMjC | https://ebay.to/3t2MijC
- Timer: https://amzn.to/3KrFLXH | https://ebay.to/3RdnzDE
- Brighteners, Midas or Gateros
- Rotary tool: https://amzn.to/3so0LHy | https://ebay.to/3M3Ujxb
- Bristle brush wheel: https://amzn.to/3pnlhX4 | https://ebay.to/3hooJMu
- Liver of sulfur: https://amzn.to/3Gt7p34 | https://ebay.to/3BOoR1i
- Zapon Lack: https://ebay.to/35BMb6z
- Respirator mask: https://amzn.to/3JTS1yI | https://ebay.to/3sn6fCv
We will still need:
- Copper Rod: http://ebay.to/3qWiO6I
- Copper pipes: https://amzn.to/3gh734T | https://ebay.to/3BMhzey
- Copper Wire: https://amzn.to/3LwdFtM | https://ebay.to/3Iifrxj
- Metal clip or plastic
- Electroforming Solution: https://amzn.to/38cMGoI
- Power Supply: https://amzn.to/32SA1Fb | https://ebay.to/3t8IxZV
- Cables
- Conductive Paint: https://amzn.to/3K2JI49 | https://ebay.to/3t7eqlC
- Brush: https://amzn.to/3omJxrz | https://ebay.to/33UInwy
- CA Glue: https://amzn.to/3J1gnpI | https://ebay.to/3pfSgfL
- Baking Soda: https://amzn.to/3v94itJ | https://ebay.to/35jDvBv
- Nippers: https://amzn.to/38p5eST | https://ebay.to/3BQzX62
- Round Nose Pliers: https://amzn.to/3DwI9ZO | http://ebay.to/3IVSPm5
- Cloth pins: https://amzn.to/3qZDbQu | https://ebay.to/3vn2BdO
Warning: Handling these substances is dangerous. Please take any precaution needed. Wear gloves, breathing mask, eye protection.
To set up this new arrangement, I add more than one pipe, which I covered with my DIY anode bags. I made more than one element are which I connected together with 2.5 mm copper wire. Metal clips will help to keep everything in place and assure it's all connected and steady. I'm using this kind of clips that are chrome plated. They won't get rusty and won't release iron oxide in the bath. Plastic ones would be better. The positive clip can be connected on the wire.

For the cathode, I put a copper rod on top of the tank and connected it with the negative clip at one side.
With a zip tie, I secured the Heater, and another clip will keep it in place. The thermometer has its own suction cup, but I just set it on the edge of the tank.
I made my own magnetic stirrer and just had to buy the stir bar. There are cheap solutions on the market that work perfectly.

After I filled the tank with the solution, I add Brightener. In the new tank I put Midas Brightener from Rio Grande which is commonly used in the US, and I had another tank with another kind of brightener that I bought from Gateros Plating in UK.


I can start both my tanks now. In the first tank, I dip in a leaf already coated in copper and a new one just covered in graphite. In the other one, I dip in the rest of the leaves that are all copper. I took all the measures in the part 1 video and all the leaves have almost all the same surface space, but the graphite has some resistance to the current, so to the first tank I gave less current than the second one.
I start my power supplies at 0.25A and 0.30A and leave it like this for 12 hours. Then I finished the pieces at 0.45A and 0.50A for more 10 hours.


When a graphite piece is dipped in the solution, the Amperes read is not the actual read you will have on that same piece with the same surface covered in copper. The resistance of the graphite makes less current go through the circuit, but once that piece in completely covered in copper, and there is no more resistance, more current will be absorbed by the circuit. Any current/surface calculation should be based on this concept. That's why it's always better to start the process with less current possible until the graphite is no more visible.
Once we judge that our jewelry is covered and shiny enough, we can remove them from the bath. The first thing is to rinse all the solution off of them with distilled water and get them dry with paper. A small residue of copper sulfate can oxidize the copper, changing the color on the pieces.
Oxidation can also occur with air and time, to prevent this phenomenon we use a protective coat. There are many on the market, I personally like Zaponlack.

Depending on the concentration of this substance and the time of exposure, you can color the copper with many hues. Green, gold, red, purple, blue are the first colors you will see forming. If you leave it longer you can have brown, gray and in the end black.

The rainbow series of colors, it'll be good as it'll be. The darker colors usually need to be polished to highlight the texture and the copper underneath.
A rotary tool with the right polishing wheel is a good tool for the purpose.


With all this information and all the basic and advance supplies, you can start to electroform your jewelry or any other object you like. Electroforming is subjective, that's why it's Art. You can change all the variable and make your own style and technique. Everything is possible with it.

Watch this tutorial on my YouTube channel and don't forget to subscribe.
Thank you all. CuForming.


