Achieve Stunning Patinas on Copper with Everyday Items!
Copper's natural beauty is undeniable, but a patina adds a whole new level of depth and character. While natural patinas take time to develop, this tutorial will show you how to use readily available household items to create stunning patinas on copper quickly and easily.

Material you need:
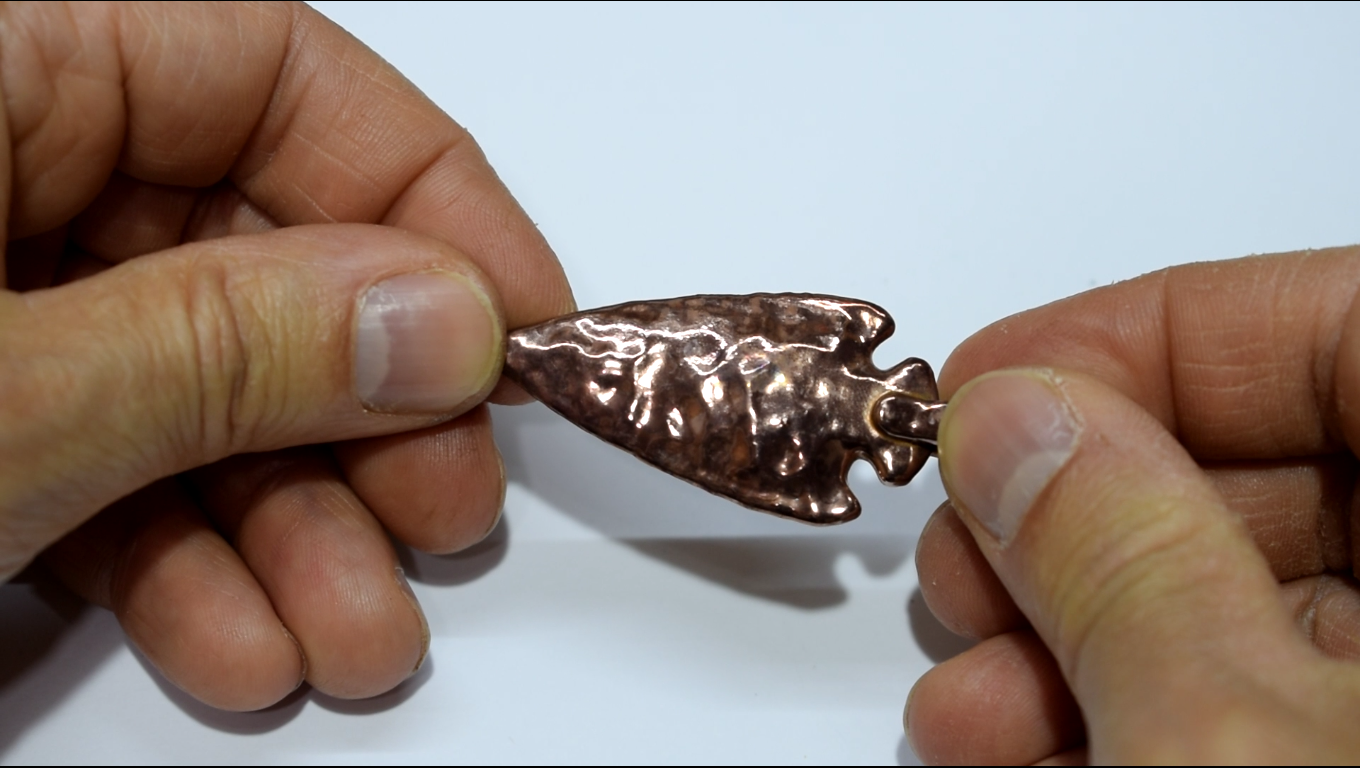
- Copper jewelry
- Copper wire https://amzn.to/3Q3yOjO | https://ebay.to/3JiRCIb
- Spray bottles https://amzn.to/4aQYZSA | https://ebay.to/3U32G0Y
- Containers https://amzn.to/3vQyMF9 | https://ebay.to/3W1zyK2
- Plastic wrap
- Ammonia https://amzn.to/3U339jK | https://ebay.to/4cZTBhT
- Vinegar
- Distilled water
- Table salt
- Baking soda
- Soy sauce https://amzn.to/4d1pIy2 | https://ebay.to/4cQLcxg
- Cooked rice
- Paper towels
- Ziplock bags
- Wood chips
- Protective gloves (optional)
- Eye protection (optional)
- Brush (optional)
- Clear lacquer https://amzn.to/4d0HEZg | https://bit.ly/3vXnr6b
The Experiments.
Get ready to experiment and create a spectrum of colorful patinas! Here are 12 unique methods, each with easy-to-follow steps. Some of these experiments failed, but they can be successful with more attempts and persistence.
Experiment #1: Introduction to Ammonia Patination
- In the container you choose, place a piece of paper towel inside.
- Using a spray bottle, evenly distribute ammonia over the paper towel until it is thoroughly dampened.
- Take your copper jewelry piece, ensuring it is clean as possible.
- Suspend the jewelry piece within the container, ensuring it is fully exposed to the ammonia-soaked paper towel.
- Cover the container with plastic wrap or its own lid to contain the fumes and prevent evaporation.
- Allow the setup to sit undisturbed for approximately 2 hours to allow the ammonia fumes to react with the copper surface.
- Carefully remove the jewelry piece from the container and inspect the results. You should observe a change in the color of the copper surface, this method creates a brown color patina.
- To stabilize the patina, allow the jewelry piece to air dry completely.
- Once dry, gently wash the piece with water to remove any residue or excess ammonia.
- The previous steps didn't affect the result with this particular experiment, but they are a necessary part of the process.


Experiment #1 serves as an introduction to the patination process using household ammonia. This method provides a basic foundation for understanding how ammonia fumes interact with copper to create a patina surface. Further experiments will explore variations and enhancements to this technique.
Experiment #2: Ammonia and Salt Water
- Prepare a fresh piece of paper towel in your container.
- Spray a generous amount of household ammonia onto the paper towel, ensuring it is evenly moistened.
- In a spray bottle, make a salt and water solution. Quantities are not relevant, you just need to make it saturated.
- Lightly sprinkle the saltwater solution onto your jewelry surface.
- Take your copper jewelry piece and suspend it within the container, ensuring it is fully exposed in the ammonia fumes.
- Cover the beaker with plastic wrap to prevent the fumes to escape and leave the setup undisturbed for approximately 2 hours.
- After the time has passed, carefully remove the jewelry piece from the beaker and observe the results. You should notice a blue substance forming on the copper surface, a result of the interaction between the ammonia, the copper metal and salt.
- To stabilize the patina, allow the jewelry piece to air dry completely.
- Once dry, gently wash the jewelry piece with water to remove any crumbly residue.
- Admire the beautiful blue oxide patina that has developed on the copper surface, giving it a unique and eye-catching appearance.

Experiment #2 explores the combination of ammonia and saltwater to create a striking blue patina on copper jewelry. This method offers an alternative to traditional patination techniques and can yield captivating results with just a few household ingredients.
Experiment #3: Ammonia fumes, Vinegar and Salt sprinkles
- Start with a fresh piece of paper towel placed in a container.
- Pour some ammonia onto the paper towel, ensuring it is sufficiently soaked.
- Take your copper jewelry piece and spray the vinegar evenly on top of your piece of jewelry.
- Sprinkle a small amount of salt onto the surface of the jewelry piece, distributing it evenly.
- Take your copper jewelry piece and position it within the beaker, making
sure it is fully exposed to the ammonia fumes.
- Cover the beaker with plastic wrap to trap the fumes and prevent evaporation.
- Allow the setup to sit undisturbed for approximately 2 hours to allow the chemical reactions to take place.
- Carefully remove the jewelry piece from the beaker and inspect the results.
- You should observe a distinct color change, with shades of a bright blue color, indicating the formation of a copper oxide.
- To stabilize the patina, allow the jewelry piece to air dry completely.
- Once dry, gently wash the piece with water to remove any residue or excess salt.
- Admire the blue-turquoise color patina that has developed, showcasing the intricate reactions between vinegar and salt with ammonia, on the copper surface.

Experiment #3 explores the use of vinegar, and salt to create a diverse range of patina color and effect on copper jewelry. This method offers an exciting opportunity to experiment with different combinations of household ingredients to achieve stunning and unpredictable results.
Experiment #4: Baking Soda Solution
- Begin by setting up a fresh piece of paper towel in a container and spray some ammonia ensuring it is sufficiently soaked.
- Prepare a saturated baking soda solution by mixing baking soda with water into a spray bottle.
- Spray the baking soda solution onto your piece of jewelry, ensuring it is evenly spread across the surface.
- Take your copper jewelry piece and hang it in the container, ensuring it is fully surrounded by the ammonia fumes.
- Cover the beaker with plastic wrap to trap the fumes and prevent evaporation.
- Leave the setup undisturbed for approximately 2 hours to allow the chemical reactions to occur.
- After the designated time has passed, carefully remove the jewelry piece from the beaker and inspect the results.
- You should observe a distinct dark blue color, indicative of copper oxide formation.
- To stabilize the patina, allow the jewelry piece to air dry completely.
- Once dry, gently wash the piece with water to remove any residue or excess baking soda.
- If desired, experiment further by brushing the baking soda solution onto the copper surface every half hour to achieve a more uniform coverage.
- In my experimentation, I've sprinkled dry baking soda powder onto the wet surface to observe its effects on the patina formation, but I had an unpleasant result. The dry powder absorbed all the blue oxide from the copper surface.
- Washing the piece after the baking soda powder experience removed all the color.


Experiment #4 The use of baking soda solution induce a blue patina formation on copper jewelry. This method gave me an opportunity to investigate various application of the baking soda in different forms and observe the resulting color changes and patterns.
Experiment #5: Soy Sauce Surprise
- Prepare a fresh piece of paper towel with some ammonia in a container.
- Spray a small amount of soy sauce onto your piece of jewelry, ensuring it is evenly spread, and sprinkle some salt onto it for an added reaction.
- Take your copper jewelry piece and position it within the container , ensuring it is fully exposed to the ammonia fumes.
- Cover the beaker with plastic wrap to prevent evaporation.
- Allow the setup to sit undisturbed for approximately 2 hours to facilitate the chemical reactions.
- After the designated time has passed, carefully remove the jewelry piece from the beaker and examine the results.
- You should observe a surprising transformation. The oxide formed from the reaction between the soy sauce and copper is of a black color.
- To stabilize the patina, and to reveal the actual color shade, allow the jewelry piece to air dry completely.
- Once dry, gently wash the piece with water to remove any residue or excess soy sauce and salt.
- Admire the unique and unexpected patina that has developed, showcasing the intriguing effects of soy sauce on copper, possibly featuring a range of colors such as black and green distributed in a leopard prints pattern.

Experiment #5 explores the use of soy sauce as an unconventional patina-inducing agent for copper jewelry. This method offers a creative twist and the potential for surprising and captivating results.
Experiment #6: Ammonia fumes, Ammonia and salt
- Set up a fresh piece of paper towel in a container and pour some ammonia.
- Spray a moderate amount of ammonia onto the you jewelry piece, ensuring it is evenly distributed and sprinkle some salt on it.
- Take your copper jewelry piece and position it within the beaker, fully immersing it in the ammonia fumes.
- Cover the beaker with plastic wrap to contain the fumes and prevent evaporation.
- Leave the setup undisturbed for approximately 2 hours to allow the chemical reactions to occur.
- Carefully remove the jewelry piece from the container and assess the results.
- Note the changes in color on the copper surface, a blue substance has formed onto it.
- To stabilize the patina, allow the jewelry piece to air dry completely.
- Once dry, gently wash the piece with water to remove any crubly residue or excess of salt.
- Admire the unique patina colors that has formed, which will include shades of blue and black, distributed in a distinct pattern.

Experiment #6 explores a variation on the use of ammonia to induce patina formation on copper jewelry. By adjusting factors such as exposure time or concentration, you can observe different results and further understand the nuances of the patination process.
Experiment #7: Vinegar fumes, Vinegar and Salt
- Prepare a fresh piece of paper towel in a container.
- Pour vinegar onto the paper towel, ensuring it is sufficiently soaked.
- Spray some vinegar on top of your piece of jewelry to evenly cover the entire surface.
- Sprinkle a small amount of salt onto the surface of the jewelry piece to enhance the patina formation.
- Take your copper jewelry piece and hang it within the beaker, ensuring it is fully sorraunded by the acetic fumes.
- Cover the beaker with plastic wrap to trap the fumes and prevent evaporation.
- Leave the setup undisturbed for approximately 2 hours to allow the chemical reactions to take place.
- After the designated time, carefully remove the jewelry piece from the beaker and examine the results.
- You should observe a common turquoise color onto your wet piece.
- To stabilize the patina, allow the jewelry piece to air dry completely.
- Once dry, gently wash the piece with water to remove any residue or excess of vinegar and salt. You will notice an orange oxide making your water dirty.
- The use of vinegar as fuming material it's giving us a distinctive formation of the patina creating a shades of blue and orange, which indicats the presence of cuprous oxide.

Experiment #7 explores the exclusive use of vinegar to induce patina formation on copper jewelry. This method offers a different approach compared to ammonia-based treatments, resulting in a distinct and intriguing patina effect.
Experiment #8: Baking Soda Failure
- Set up a piece of paper towel in a container and pour some vinegar onto it.
- Spray some vinegar on top of your pieces of jewelry to spread it evenly.
- Sprinkle baking soda over the surface of the jewelry piece. You can observe the fizzing reaction that occurs as the vinegar and baking soda interact, generating sodium acetate. (You can stop your experiment at this step because the sodium acetate won't react with the copper metal and there will be no patina formation.)
- Take your copper jewelry piece and hang it in the container.
- Cover the beaker with plastic wrap to contain the fumes and prevent evaporation.
- Leave the setup for 2 hours.
- Remove the jewelry piece from the container.
- Unfortunately, you may notice that the reaction between vinegar and baking soda has neutralized each other, resulting in minimal to no patina formation.
- I wanted to test it further with baking soda solution and baking soda powder on top of the jewelry, avoiding vinegar, but there was still no patination at all.
- Consider alternative methods or adjustments to the process to achieve desired patina effects in future experiments.

Experiment #8 explores the combination of vinegar and baking soda to induce patina formation on copper jewelry was a complete failure. The neutralization reaction between these two substances may hinder the desired outcome. This serves as a valuable lesson in understanding chemical reactions and their impact on patina formation.
Experiment #9: Soy Sauce Surprise Again
- Begin by setting up a piece of paper towel in a container and spray some vinegar into it to soak the paper.
- Pour soy sauce on top of your piece of jewelry, ensuring it is evenly distributed.
- Sprinkle salt over the surface of your jewelry to enhance the reaction.
- Take your copper jewelry piece and hang it in the container, fully surround it in the acetic vapors.
- Cover the beaker with plastic wrap to contain the fumes and prevent evaporation.
- Leave the setup undisturbed for approximately 2 hours to allow the chemical reactions to occur.
- Remove the jewelry piece from the container to check the results.
- To stabilize the patina, allow the jewelry piece to air dry completely.
- Once dry, gently wash the piece with water to remove any residue or excess soy sauce and salt. You may observe an orange substance coloring the water, like a previous experiment with vinegar.
- Admire the unique and unexpected patina that has developed. A range of colors and patterns on the copper surface, including green, orange, blue, and even yellow hues.

Experiment #9 revisits the use of soy sauce as a patina-inducing agent on copper jewelry, offering a chance to observe different results and variations compared to previous experiments. This method provides an opportunity for creative exploration and may yield surprising and captivating patina effects.
Experiment #10: Ammonia and Woodchips
- This time instead of hanging the piece in a container, I'm surrounding it in woodchips inside a ziplock bag.
- Add woodchips into the bag and pour ammonia into it, ensuring it's thoroughly soaked.
- Take your copper jewelry piece and place it inside, fully immerse it in the ammonia-soaked woodchips. Ensure the jewelry piece is completely surrounded.
- Seal everything and leave the setup undisturbed for an extended period, in this case I did it for four days, to allow for prolonged exposure to the ammonia fumes.
- After the designated time has passed, carefully remove the jewelry piece from the bag and assess the results.
- I didn't notice any significant patina formation on the copper surface, it looks like the first experiment with just ammonia fumes for 2 hours.
- I decided to go stronger, and I added more ammonia, actually a lot of it, and I tighten up my pieces in the woodchips with a cloth and some rubber bands.
- I placed it again in the ziplock bag for 4 more days.
- When the time has passed, I let it air dry completely.
- After washed and dry the piece, I noticed a slight change of color with a soft blue and some black spots.


Experiment #10 explores the effects of prolonged exposure to ammonia fumes on copper jewelry, offering the potential for different patina formation. The little patination developed through an extended exposure to ammonia fumes though, was disappointing.
Experiment #11: Cooked Rice and Ammonia (Failed)
- Soak some cooked rice with ammonia.
- Place your copper jewelry piece in the center of the rice to make a ball.
- Insert it in a ziplock bag and seal it securely, ensuring it is airtight.
- Allow the setup to sit undisturbed for several days, ideally around four days, to allow for the transfer of ammonia vapors from the rice to the copper jewelry piece.
- After the designated time has passed, carefully remove the jewelry piece from the ziplock bag and assess the results.
- In my experiment the difference in the appearance of the copper surface, which is not a patina formation, results in the opposite. It actually polished the copper.
- The expected results should have been a patination with brown, blue and green colors.
- I assume that the error I've committed is related to the cooking of the rice. It should have let the fumes from the ammonia pass through to corrode the copper surface, but the rice was too thick.

Experiment #11 explores the use of cooked rice as a medium for transferring ammonia vapors to induce patina formation on copper jewelry. This unconventional method offers an alternative approach to traditional patination techniques, potentially resulting in subtle and intriguing patina effects. It needs more experimentation, which I hope you will be motivated to continue.
Experiment #12: Soy Sauce and Cooked Rice (Failed)
- Soak some cooked rice with soy sauce.
- Place your copper jewelry piece in the center of the rice to make a ball.
- Insert it in a ziplock bag and seal it securely, ensuring it is airtight.
- Allow the setup to sit undisturbed for several days, ideally around four days, to allow for the transfer of ammonia vapors from the rice to the copper jewelry piece.
- After the designated time has passed, carefully remove the jewelry piece from the ziplock bag and assess the results.
- This experiment is a failure, like the first one with cooked rice. The difference with soy sauce was a formation of a slight brown color patina.
Experiment #12 can combine the elements of soy sauce and cooked rice with traditional patination techniques to create a truly unique and artistic patina effect on copper jewelry. This experiment will also need more test to achieve the wanted patination.
Protective Coating:
To ensure the longevity of the stunning patina effects achieved through these experiments, it's essential to apply a protective coating. After allowing the patinated copper jewelry pieces to fully dry, I recommend spraying them with a transparent lacquer. This protective layer will help seal and preserve the patina, guarding against oxidation and wear over time. Be sure to follow the manufacturer's instructions for proper application and drying times to achieve optimal results. With this additional step, you can enjoy your beautifully patinated creations for long time, showcasing their unique colors and textures with confidence.

Conclusion: A World of Color at Your Fingertips!
These series of twelve experiments has offered a fascinating journey into the
world of copper patination. From traditional methods using household
substances like ammonia and vinegar to more unconventional approaches
involving soy sauce and cooked rice, each experiment has provided
valuable insights and surprising results.
We've witnessed the transformative power of chemical reactions on copper surfaces, resulting in an array of captivating patina effects. From vibrant blues and greens to rich browns and blacks, the diversity of colors and textures achieved has been truly remarkable.
Experimentation is key to unlocking the full potential of patination techniques. By adjusting variables such as exposure time, concentration, and application method, we can manipulate the outcome and create unique patina effects tailored to our artistic vision.
Thank You & Invitation to Explore More!
I extend my sincere thanks for joining me on this creative exploration. I hope you've found inspiration and insight along the way. If you'd like to see a detailed visual of our experiments, I invite you to watch the related YouTube video.
Remember, creativity knows no bounds, and with each experiment, we inch closer to unlocking its endless possibilities.
Thank you for being a part of this journey! CuForming.


