How I Anodized Titanium Hooks for My Copper Earrings
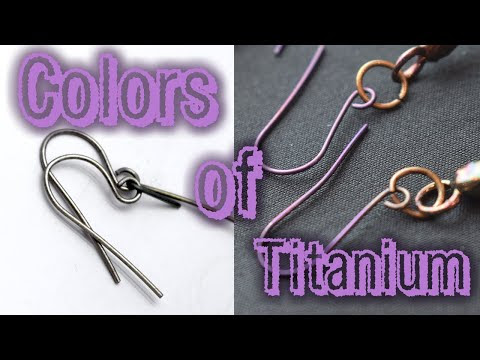
Hello, fellow makers! Today, I’m sharing a fun project I just finished: anodizing titanium hooks for a pair of copper earrings I made. I wanted to experiment with color on the hooks to match the patina on the copper. Here’s how it all went down, complete with a few lessons learned along the way! Materials You’ll Need Before diving into the process, here’s a list of all the materials I used: Titanium hooks (or titanium wire) https://amzn.to/4eJOIdg | https://ebay.to/4fnZg1Z Baking soda (for the electrolyte solution) Water (to mix with the baking soda) Beaker (or any non-metallic container to hold the solution) Stainless steel bar (to use as the cathode) Alligator clips (to connect the titanium and stainless steel bar to your power supply) 30-volt, 5-amp adjustable power supply (or a higher voltage 60V power supply for anodizing) https://amzn.to/3BIhjkT | https://ebay.to/3zXqxJq Why Titanium? First things first: why titanium? Well, titanium is hypoallergenic, which makes i...

