Hello, fellow makers! Today, I’m sharing a fun project I just finished: anodizing titanium hooks for a pair of copper earrings I made. I wanted to experiment with color on the hooks to match the patina on the copper. Here’s how it all went down, complete with a few lessons learned along the way!
Materials You’ll Need
Before diving into the process, here’s a list of all the materials I used:
- Titanium hooks (or titanium wire) https://amzn.to/4eJOIdg | https://ebay.to/4fnZg1Z
- Baking soda (for the electrolyte solution)
- Water (to mix with the baking soda)
- Beaker (or any non-metallic container to hold the solution)
- Stainless steel bar (to use as the cathode)
- Alligator clips (to connect the titanium and stainless steel bar to your power supply)
- 30-volt, 5-amp adjustable power supply (or a higher voltage 60V power supply for anodizing)
https://amzn.to/3BIhjkT | https://ebay.to/3zXqxJq
Why Titanium?
First things first: why titanium? Well, titanium is hypoallergenic, which makes it a perfect choice for earring hooks, especially if you’re like me and want your jewelry to be skin-friendly. The other reason? You can anodize titanium with just electricity! That’s right—no need for dyes or chemicals. I was inspired to try this technique after seeing some stunning work by the electroforming artist "Storie di Rame", who uses anodizing to bring beautiful colors to her pieces.
.JPG)
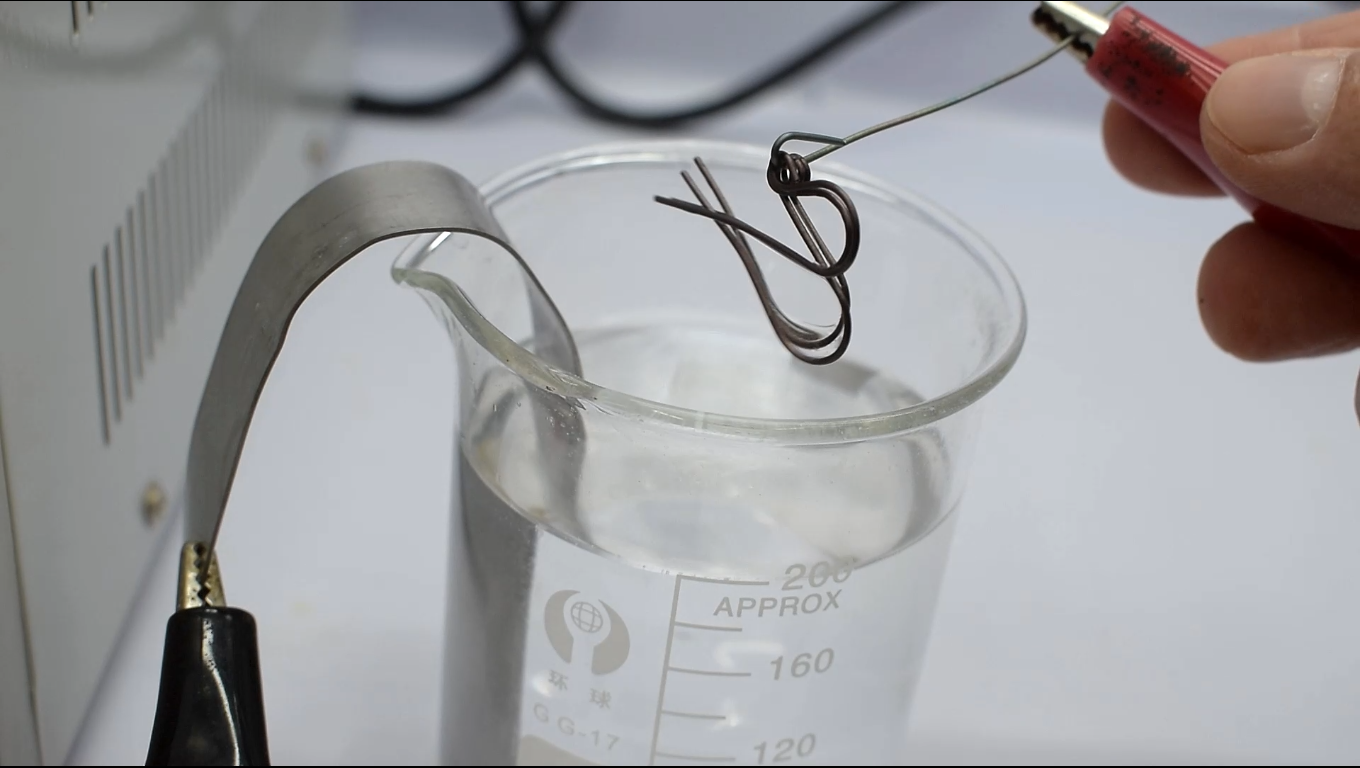
The Setup: Simple but Effective
Anodizing titanium is surprisingly simple once you have the right setup. Here’s what I used:
- A mixture of baking soda and water in a beaker as the electrolyte.
- A stainless steel bar as the cathode (the negative pole).
- The titanium hooks connected to the positive pole.
- A 30-volt, 5-amp adjustable power supply.

I mixed the baking soda with water, gave it a good stir to dissolve, and then connected the stainless steel bar to the negative pole. The hooks I wanted to color were attached to the positive pole, and voilà—we’re ready to anodize!
Color Testing: Finding the Perfect Shade
Before diving into anodizing the actual hooks, I did some tests to see what colors I could get at different voltages. Here’s what I found:
- At 10 volts, the titanium turned a nice yellow.
- At 20 volts, it shifted to purple.
- At 30 volts, I got a beautiful blue.

While these colors were pretty, I wasn’t 100% satisfied just yet, so I decided to push the voltage even higher.
Going Higher: An Electrical Experiment
I set up a 220-volt to 110-volt transformer with a small voltage regulator I made to experiment with higher voltages. I cranked it up to 40, 50, and even 60 volts. But the results were... let’s just say inconsistent! Some colors didn’t turn out as expected, and the whole experiment wasn’t as smooth as I’d hoped.
Oh, and don’t try this at home unless you really know what you’re doing! I’m an electrician, so I felt comfortable with the setup, but honestly, I should’ve just bought a power supply that could handle 60 volts or more. Lesson learned... maybe I’ll get one for future projects.

Back to Basics: The Final Anodizing Process
After the higher voltage experiment, I went back to my trusty 30-volt setup. Out of the colors I tested earlier, the purple from 20 volts was my favorite. It was the darkest shade and complemented the patina on my copper earrings beautifully. So, I decided to go with that for the final look.
Wrapping Up...
And that’s how I anodized these titanium hooks! The purple turned out perfect, giving the earrings a rich contrast to the copper. I’m really happy with how they turned out. If you’re thinking about trying this process, I’d definitely recommend sticking to a good, adjustable power supply—it makes a world of difference.

3D Printing: Pigeon Earring Files Available!
Oh, and for my fellow 3D printing enthusiasts, I’ve got a little extra for you! The 3D-printable files for these pigeon earrings are now available on my website. So if you want to add a little avian flair to your own jewelry projects, check them out!

Thanks for joining me on this anodizing adventure! Let’s keep creating! CuForming!

Comments
Post a Comment