This is the first tutorial for the new year, and I wanted to make something simple that every beginner electroformer can do to upgrade its electroforming solution.

It's a cheap and safe way to make a brightener and also to improve the conductivity of the electroforming solution. The substance we are going to use is called PEG.
PEG = Polyethylene Glycol = H-(O-CH2-CH2)n-OH
PEG stands for Polyethylene Glycol, commonly used as laxative for children, but it is also a good electrolyte for the copper electroforming solution. It doesn't contain metallic ions that could interfere with the growth of the copper deposit. It has a high boiling point, which helps to dissipate heat generated during the electroforming process. The high viscosity, allows for process stability, helping to prevent distortion of the substrate of the copper deposit which can improve the surface quality.
If you live in the US you can find it with the name of Miralax which is a specific brand name for PEG 3350. While Macrogol is the generic name for PEG in Europe. It can be found in a lot of different brands and formulations. Some of them may contain flavoring and excipients which you don't want in your solution. You need pure PEG.
.jpg)
The brand I found in Italy of pure PEG is Onligol. It contains pure PEG 4000.

- Miralax: https://amzn.to/3XDGTNL | https://ebay.to/3R7CHDs
- Onligol: https://ebay.to/3HhE1zs
The number that you will see associated with PEG can go between 2000 and 4000, and it determines the molecular weight. A PEG brand with higher molecular weight can hold more water and can make an electroforming solution more conductive. It doesn't make a big different though, so don't be bothered to buy the PEG with a higher weight number.
Let's now make the solution

To prepare our solution of PEG for electroforming we are gonna need:
- 100ml of distilled water
- 18g of PEG.
Supplies needed:
- Digital Scale: https://amzn.to/3XZ2GiR | https://ebay.to/3C3tchF
- Beaker: https://amzn.to/3JezwrV | http://ebay.to/3qXOA2Z
- Dropper Bottle: https://amzn.to/3XVuLIp | https://ebay.to/3OT0V3p
It's an easy process, and it's gonna be a very fast dissolution since PEG will absorb water in seconds.
I will pour the solution in a dropper bottle, so it'll be easy to use.

To test this PEG solution for this video, I've prepared one liter of basic electroforming solution.

(Check my video if you wanna know how to make it).
It's just water, copper sulfate and sulfuric acid in which I previously electroformed a sample piece.
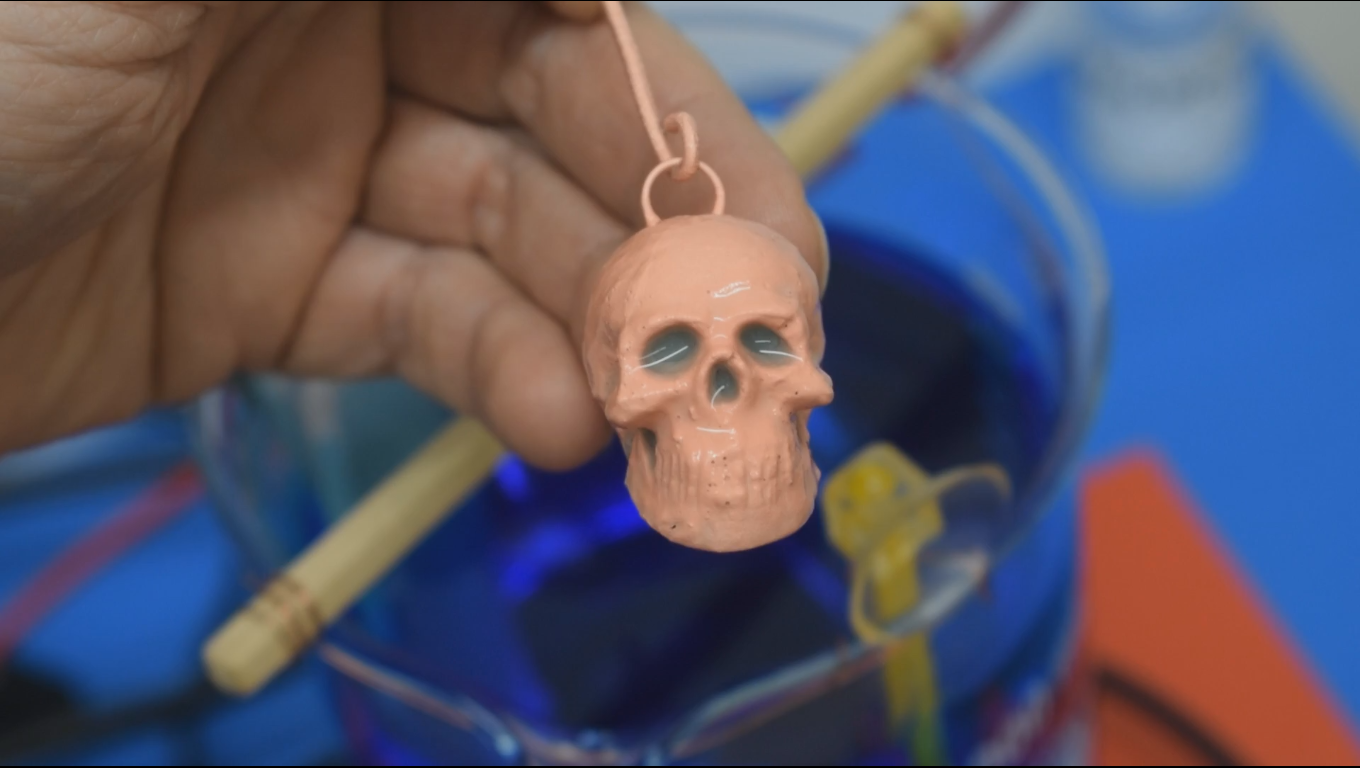
The copper on the sample has a rough salmony color, with a little glaze, but it doesn't shine at all.

For 1 liter of electroforming solution, I'm gonna add 5ml of PEG solution. One dropper is basically 1ml, so I'll add 5.

I will mix it up a little with the magnetic stirrer before adding the sample.
I spent 40 hours to electroform the first sample at a very low current. With 0.2 Volts I had a range of current between 0.03 Amps and 0.07 Amps. Also, the temperature was at 25 °C.
With the second sample I will test the differences between Time, Current range, and copper deposit. So I will keep the same, voltage and temperature. Will it be shine and bright this time?

This is the result after 10 hours. It definitely went faster on the second sample with PEG added to the solution. The first one at this point still had few black spots of graphite.
I will leave it overnight to make the copper deposit thicker.
In the morning, after 11 hours of my last check, the surface is still dull. I've decided to crank the amps up a little to reach the standard point of current and hoping for some luster.


Here we are at 26 hours of work. It's definitely shining. It is not bright, but it looks better than the first sample. The copper deposit got thicker in less time. The current range was lower at 0.2V. I can't make a comparison for the last 6 hours of boosting at 0.6V with 0.2 Amps to 0.3 Amps.


In conclusion, this product can help to accelerate the process, and it can get the copper deposit smoother, and it definitely improves the surface quality. Is it good as a brightener? Well, I'm gonna say YES and NO. That feeble luster cannot claim it to be a brightener. To be considered a Brightener, the copper surface should be bright. This is good though, for those who work with black patina, and a piece like this one, can just be cleaned with high grit polishing tools.
I hope this information was useful for your work, and you will have fun doing it.
Watch my videos on YouTube, subscribe and like for more.
Thank you all, Cu Forming!
Comments
Post a Comment