Thanks to all my 500 Subscribers. This is a fantastic checkpoint for my channel that I want to celebrate with all of you. For the occasion, I made a pair of hoop earrings that I want to giveaway to one of my faithful friends.
To participate, you need to subscribe to the channel and to leave a comment. Just type whatever you want and in which country you live. The lucky winner will be drawn between all the comments.
The winner will contact me on Facebook or Instagram for the shipping information. 2 more comments will be drawn just in case the first or the second winner won't show up.
I'm just sorry about the fact that I can ship to these countries only:
Andorra, Austria, Belgium, Bulgaria, Canada, Croatia, Czech Republic, Denmark, Estonia, Finland, France, Germany, Greece, Hungary, Ireland, Italy, Latvia, Lithuania, Luxembourg, Monaco, Norway, Poland, Portugal, Romania, Slovakia, Slovenia, Spain, Sweden, Switzerland, The Netherlands, United Kingdom, United States.
If you don't live in one of these countries, I won't be able to ship the giveaway.
Thank you all!!!
Supplies:
- Copper Wire: https://amzn.to/3LwdFtM | https://ebay.to/3Iifrxj
- Amethyst crystals: https://amzn.to/3Fl3Ejl | https://ebay.to/3NbxNn3
- Ball peen Hammer: https://amzn.to/3AXbED6 | https://ebay.to/3JXCk9M
- Texturing hammer: https://amzn.to/3urqxfs | https://ebay.to/3vk7WCo
- Rubber Hammer: https://amzn.to/3GmsgoH | https://ebay.to/353QAzf
- Anvil: https://amzn.to/3AW8DTj | https://ebay.to/35nXsqR
- Wooden mandrel https://amzn.to/3DtF8Lv | https://ebay.to/340N0Fy
- Butane torch https://amzn.to/3TDooXI | https://ebay.to/33TeRqZ
- Copper braising alloy https://amzn.to/3Du6Tng | https://ebay.to/3DxjRk3
- Tweezers: https://amzn.to/3tgwY2S | https://ebay.to/35aY2IZ
- Heat-proof surface: https://amzn.to/3sdpCMZ | https://ebay.to/3JR1bfm
- Pickling solution https://amzn.to/3FfgteY | https://ebay.to/3SzVRRx
- Wrap n tap pliers https://amzn.to/3DxT9YM | https://ebay.to/3N4yMFJ
- Nippers: https://amzn.to/38p5eST | https://ebay.to/3BQzX62
- CA Glue: https://amzn.to/3J1gnpI | https://ebay.to/3pfSgfL
- Apoxie Sculpt https://ebay.to/3URwopj | https://amzn.to/36N1TfF
- Modelling tools https://ebay.to/3srynEG | https://amzn.to/3pksmrp
- Isopropyl Alcohol https://ebay.to/3fGkj6l | https://amzn.to/3C88qgK
- Conductive Paint https://ebay.to/3CtqeVc | https://amzn.to/3okY7QA
- Brush: https://amzn.to/3omJxrz | https://ebay.to/33UInwy
- Liquid Latex: https://amzn.to/3Jcwu3I | http://ebay.to/3LL3dyU
- All the electroforming supplies https://kit.co/cuforming/electroforming-advanced-kit
- Liver of Sulfur https://ebay.to/3BOoR1i | https://amzn.to/3Gt7p34
- Respirator mask: https://amzn.to/3JTS1yI | https://ebay.to/3TMmRyY
- Earring hooks: https://amzn.to/3SAbcSd | https://ebay.to/3gysamD
- Flat nose pliers https://amzn.to/3TMCKoy | https://ebay.to/36yXkVZ
When you beat copper it becomes stronger, when you warm this metal it becomes soft and malleable.

With a hammer, I'm flatting the copper wire. This is the first step to create its look.

When I bent it on my wooden mandrel, it feels strong, and then I warm it up with my torch.
Quenched in water and pickled in pickling solution to remove fire scales, it can be easily bent in to shape.
With wrap 'n tap pliers, I made a small loop on one end and trim at the right measure with nippers. I've repeated the process twice, since earrings are usually two.


I set both pieces at the same time on a heat-proof surface. Adding a small piece of braising alloy, I have joined them with my butane torch. The right heat is sufficient to melt the alloy, but not the copper.

I repeated the quenching and pickling process to clean the surface of the copper and decided to give some character by texturing the sides with my DIY texture hammer. I choose a linear patter.

To complete the shaping process, I used a rubber hammer to make them straight and also to give them much more strength.
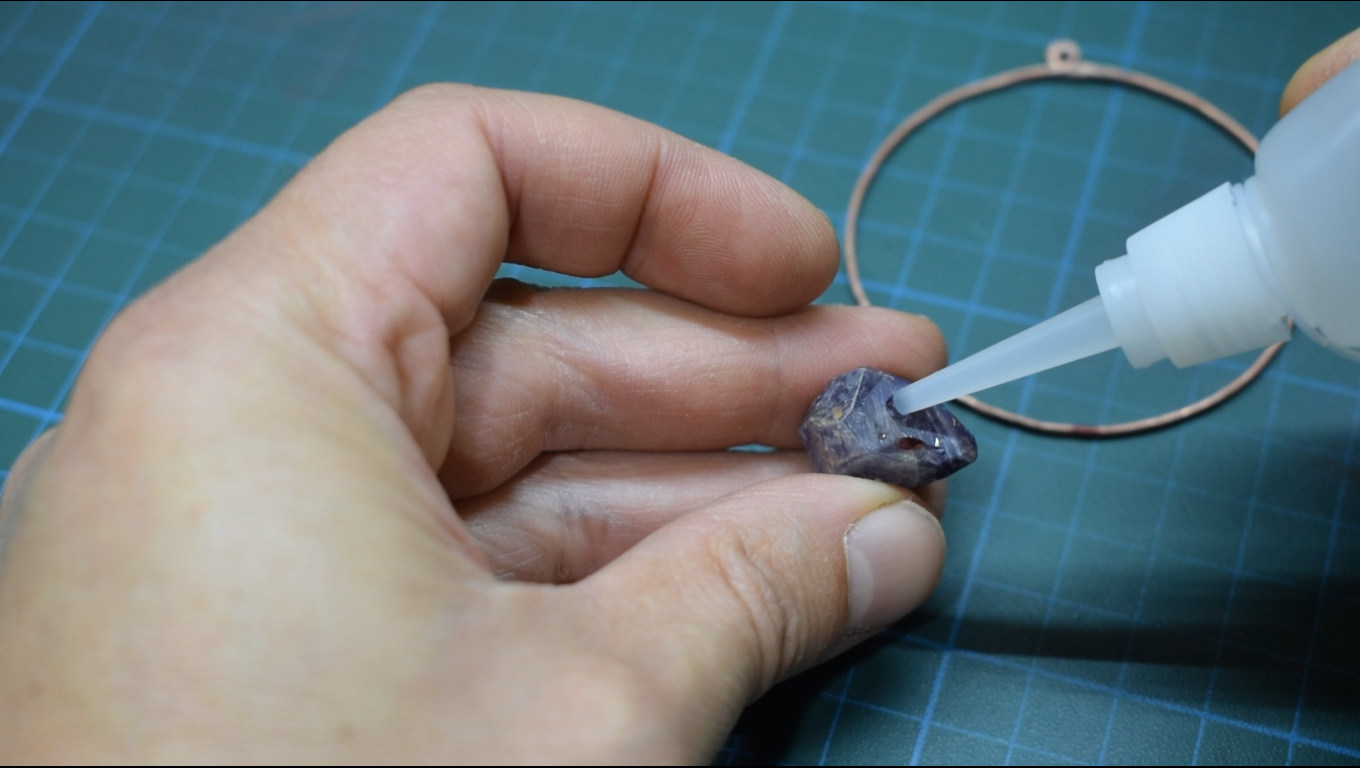
To attach the amethyst crystals, I simply glued them with CA glue on the hoop's bottom.
After I left them a few minutes to dry, I mixed some Apoxie sculpt. A little flat piece on the bottom is perfect to secure the crystal with the copper and to hide the gap in between. Four small oblong pieces at the sides are attached to resemble prongs and to make more grip as well.

I smooth the surface of the resin with a silicone brush and isopropyl alcohol.

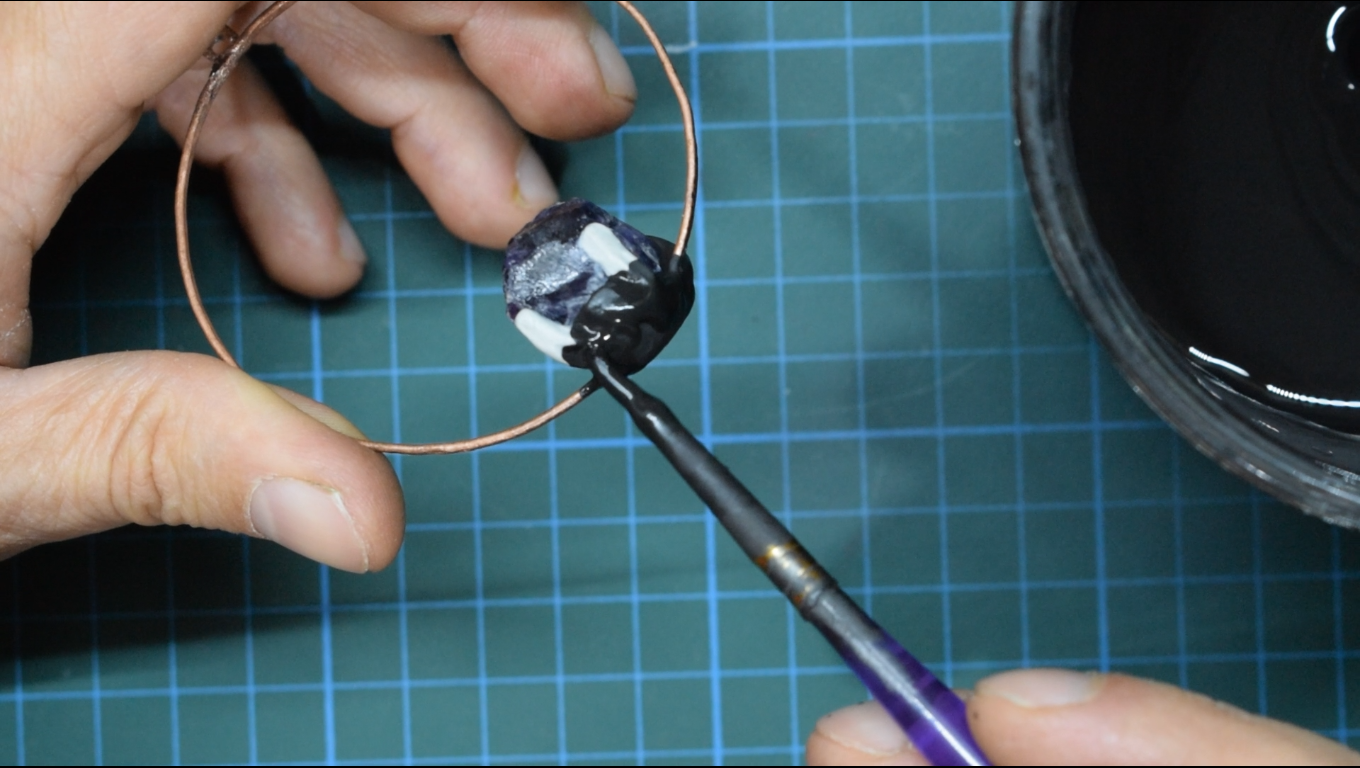
After a day of waiting to let the Apoxie cure completely, they were ready for the conductive paint.
It takes less than five minutes to dry, so I can give them a second coat right away.
I'm now applying liquid latex on the stones.
This is a procedure that I usually don't apply to quartz crystals or any other stone with hardness higher than 6 in the mohs scale. In this case, I'm using raw crystals, and I'm not sure if they have cracks. If so, the electroforming solution could penetrate inside and the copper sulfate contained, once crystallized, can push in to those cracks and break the stones.

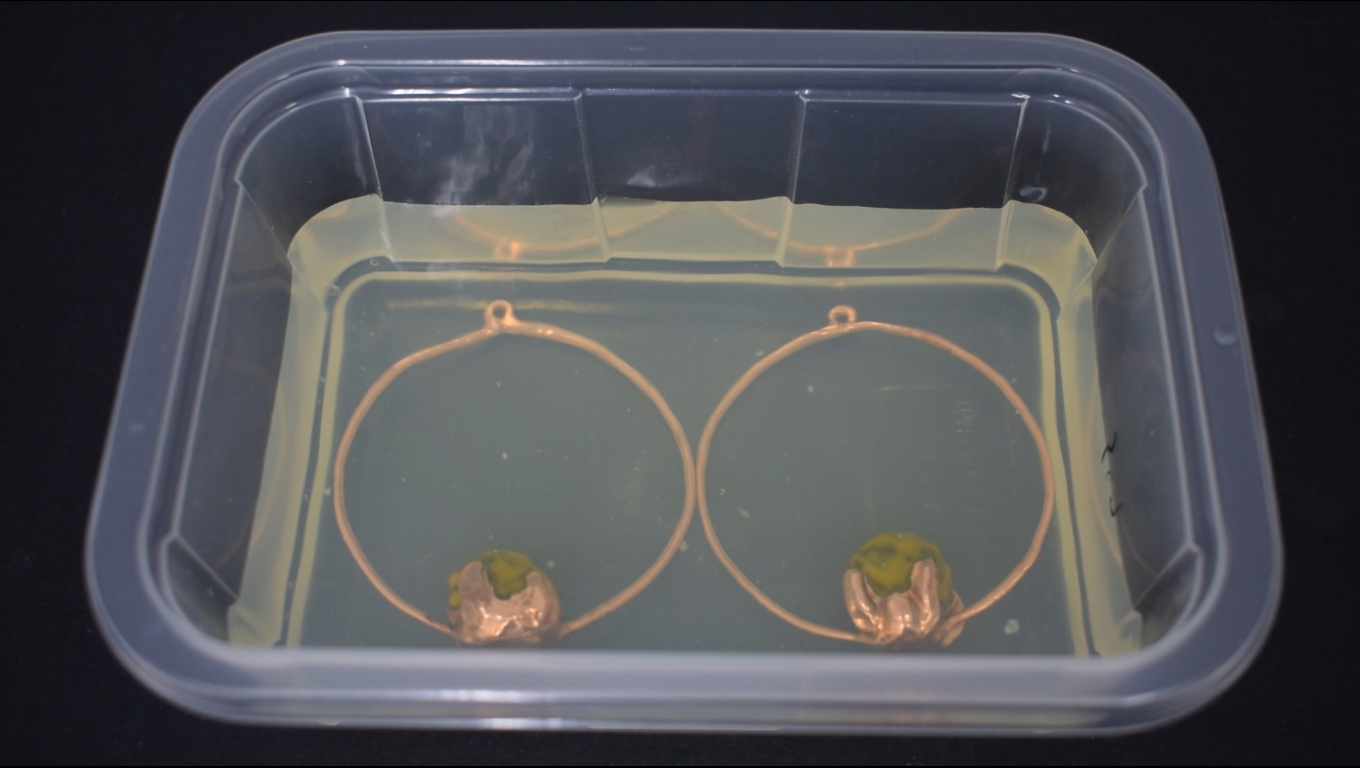
Once the latex is completely dry, our earrings are finally ready for the most important part of the job, the electroformation itself. In the electroforming solution, they will get coated in copper through an electrochemical process called galvanization.

It takes several hours to be completed, so we can sit back and relax for a while, but always keep an eye on them and move them once in a while to avoid the hooks, that we made to hang them, don't get incorporated in the piece.
The power supply needs to be started at low amps at first. It can be adjusted once the part with graphite is coated in copper and let them to electroform with a good amount of copper on them.


In this case, I was happy with the thickness of the copper after 17 hours. I took them out of the bath to rinse with water and remove the copper sulfate residue on them.
I then prepared a container with distilled water and Liver of sulfur. I drop the earrings in it not for long to get a rainbow patina.
In the video, you can see me using my bare hands to move the hoops in the liver of sulfur solution... DON'T DO THAT. I was in a hurry and I forgot to wear gloves. If you do touch liver of sulfur with your skin, wash it good, it's a toxic substance and can cause troubles.
It also has
an intense smell produced by the evaporation of the sulfides, just like
rotten eggs. It's recommended to use a respirator mask or work in a
ventilated area.
Not only that, after we are done with our job, we need to neutralize it with baking soda or
better with bleach. You can also leave it to evaporate before flushing
in the drain. We don't want to contribute to
pollution.

After I peeled off the latex from the stones, I dipped them in Zapon lack to protect patina's color. Sadly, I don't have the footage and I couldn't show this part of the process in the video.
I mounted a pair of earrings hooks and make them ready to be shipped to the lucky subscriber that is going to comment on the YouTube video.

Thank you all by CuForming!!!
Comments
Post a Comment