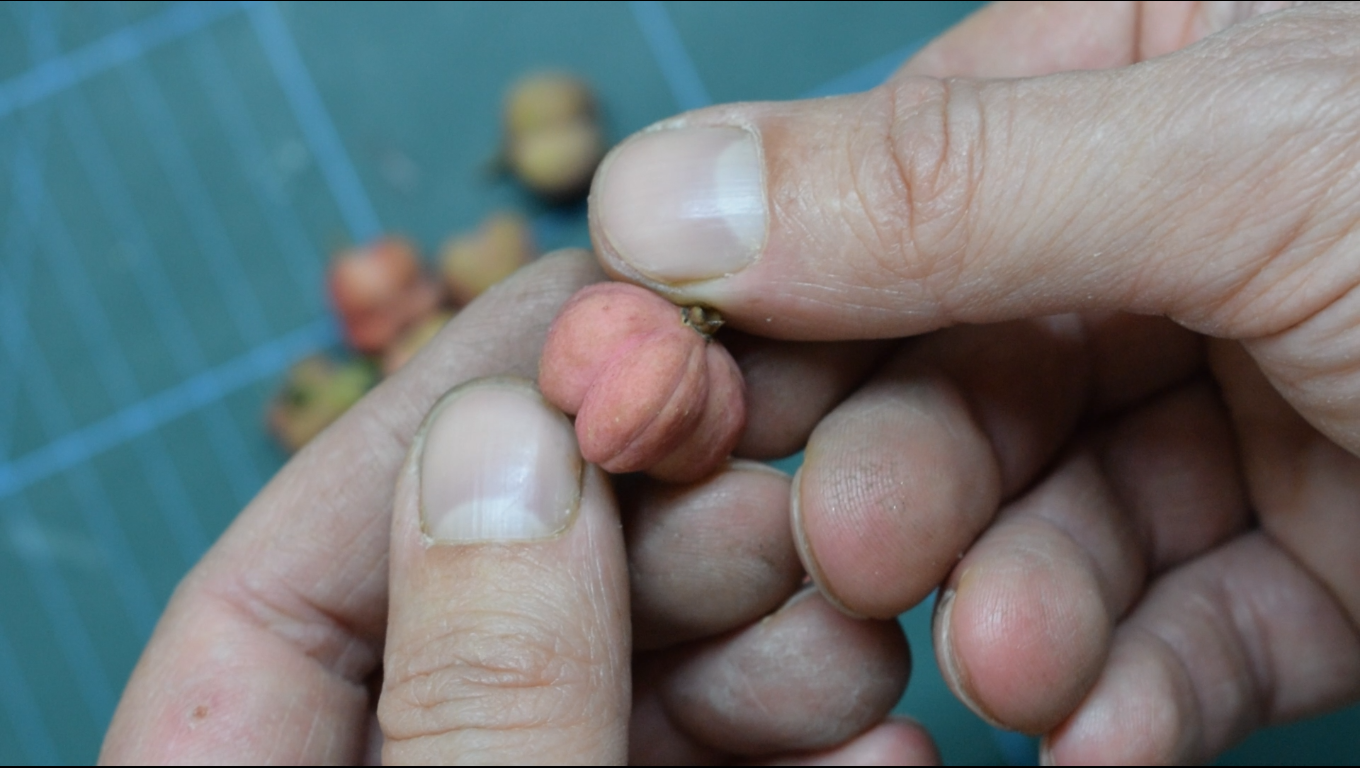
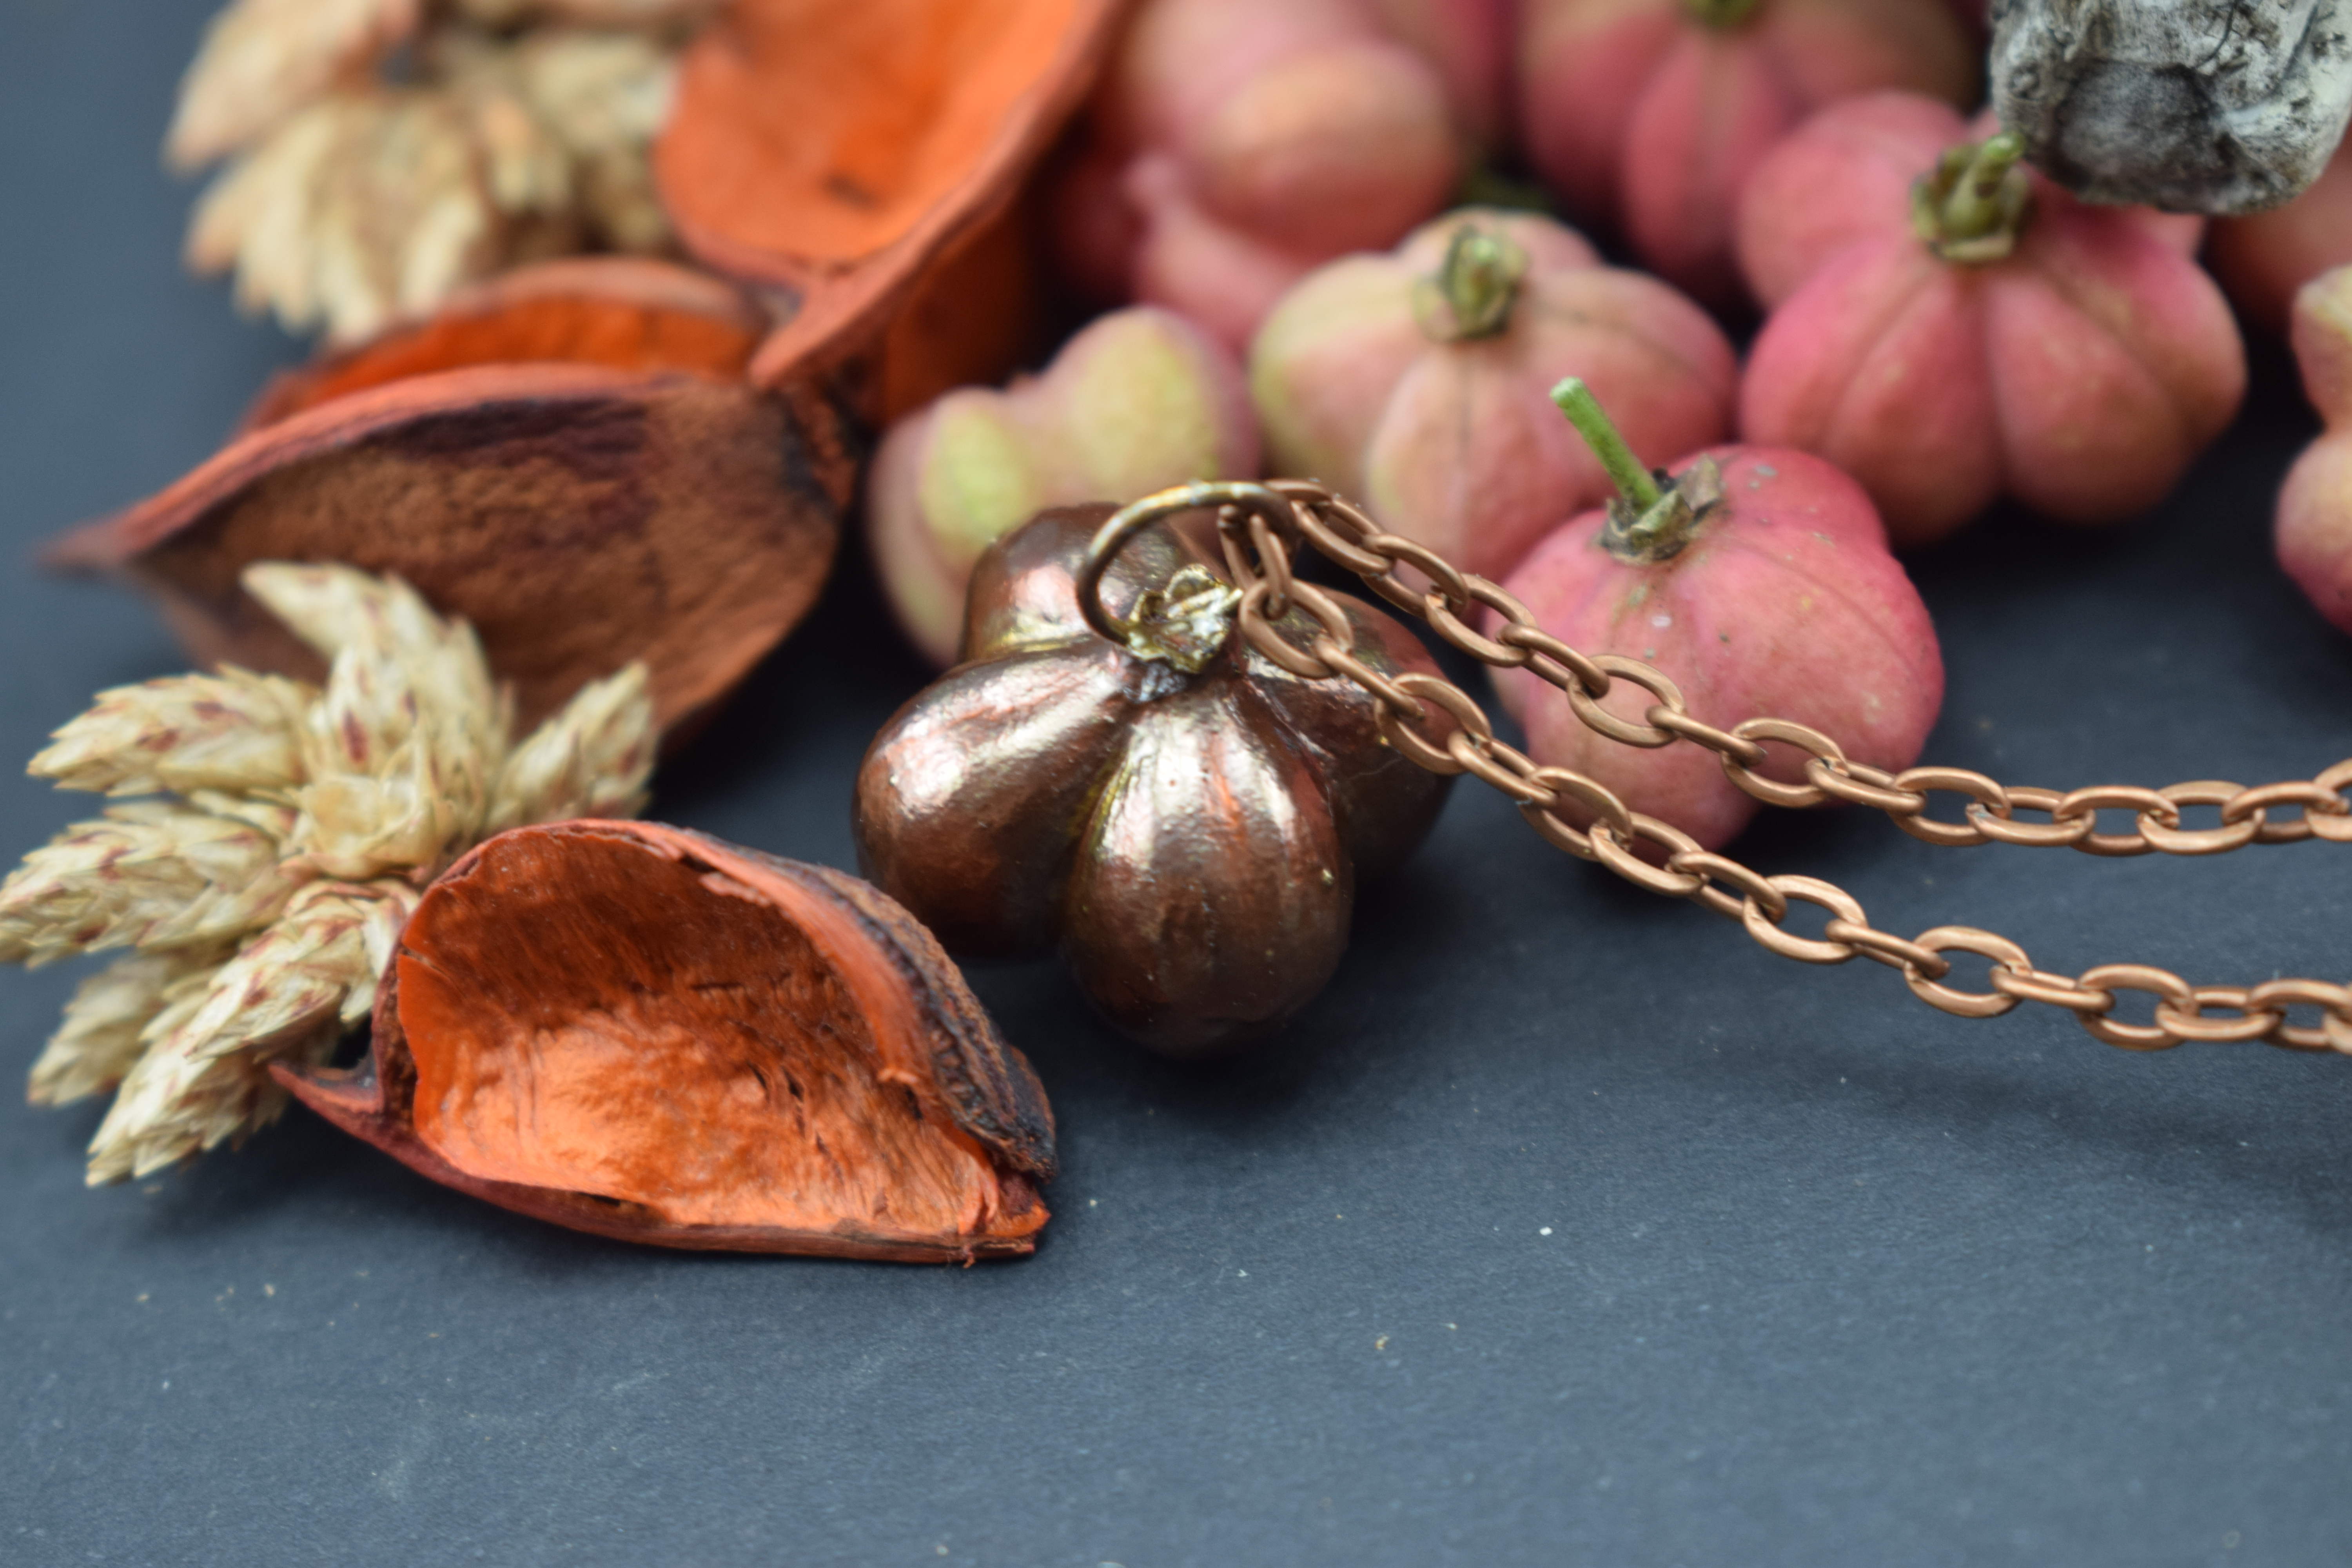
We have no putka pods in Europe. The nearest things that look like mini pumpkins are spindletree pods. They are also cute and perfect to make another Halloween project with copper.
Supplies
- Spindle Tree pods (or Putka pods)
- Copper Wire 0.6 mm: https://amzn.to/3LwdFtM | https://ebay.to/3Iifrxj
- Wrap n tap pliers https://amzn.to/3DxT9YM | https://ebay.to/3N4yMFJ
- Nippers: https://amzn.to/38p5eST | https://ebay.to/3BQzX62
- CA Glue https://ebay.to/3pfSgfL | https://amzn.to/3gkYJ49
- Conductive Paint https://ebay.to/3CtqeVc | https://amzn.to/3okY7QA
- All the electroforming supplies https://kit.co/cuforming/electroforming-advanced-kit
- Liver of Sulfur https://ebay.to/3BOoR1i | https://amzn.to/3Gt7p34
- Zapon Lack: https://ebay.to/35BMb6z
additional supplies
- ring hoop
- Tweezers: https://amzn.to/3tgwY2S | https://ebay.to/35aY2IZ
- Copper wire 0.3 mm: https://amzn.to/3LwdFtM | https://ebay.to/3Iifrxj
- Pendant chain: https://amzn.to/3M7VFac | https://ebay.to/3IsXkou
- Lobster clasp : https://amzn.to/3IukJ96 | https://ebay.to/3JZaiuJ
- Earring hooks: https://amzn.to/3SAbcSd | https://ebay.to/3gysamD
This is a simple project and relatively easy.
With my wrap n tap pliers also called bail making pliers I make some bails with the copper wire. I choose a size in the middle of the pliers to match the size of the stem.


When I was satisfied with the number, I started to clean all the actual stems on the pods and, with CA glue, I attached the bails I previously made.

After I left them for an hour to let the glue to fully cure, I prepared them for the conductive paint. I made a hook for each piece and dip one by one in to the conductive paint. Dipping all my pieces in the paint is the fastest way to cover them, and it's the way I usually like better.

One dip isn't enough so, after let it dry for less than a minute, I gave them directly a second coat and hang to dry more before the bath.
I dipped them in my tank then and, since they are organic with air inside, they couldn't be able to sink in the solution, so I had to secure all hooks with cloth pins. Pods are still floating, but at least they are completely submerged in the solution. They will eventually sink once they become completely coated in copper and heavier.

After an hour, I made some adjustment to the power supply, so they start to go at full capacity.

The electroforming process will take a while, so in the meantime I've decided to make a ring.
I had a premade ring hoop, so I just needed to glue a pod on it. To make it more realistic and make it look more like a pumpkin, I've created tendrils that are the curls that come out from the pumpkin stem.
With a smaller copper wire and a toothpick, I twisted two tendrils and glue them on to make it ready to be coated in conductive paint and then dipped in the solution.


I managed to fit 8 pieces at the time in the tank, and they were getting completely electroformed at different times. So when some of them were perfectly coated, I made space for more to be electroform.

After they were ready, I dip them in water to rinse the electroforming solution residue off of them.

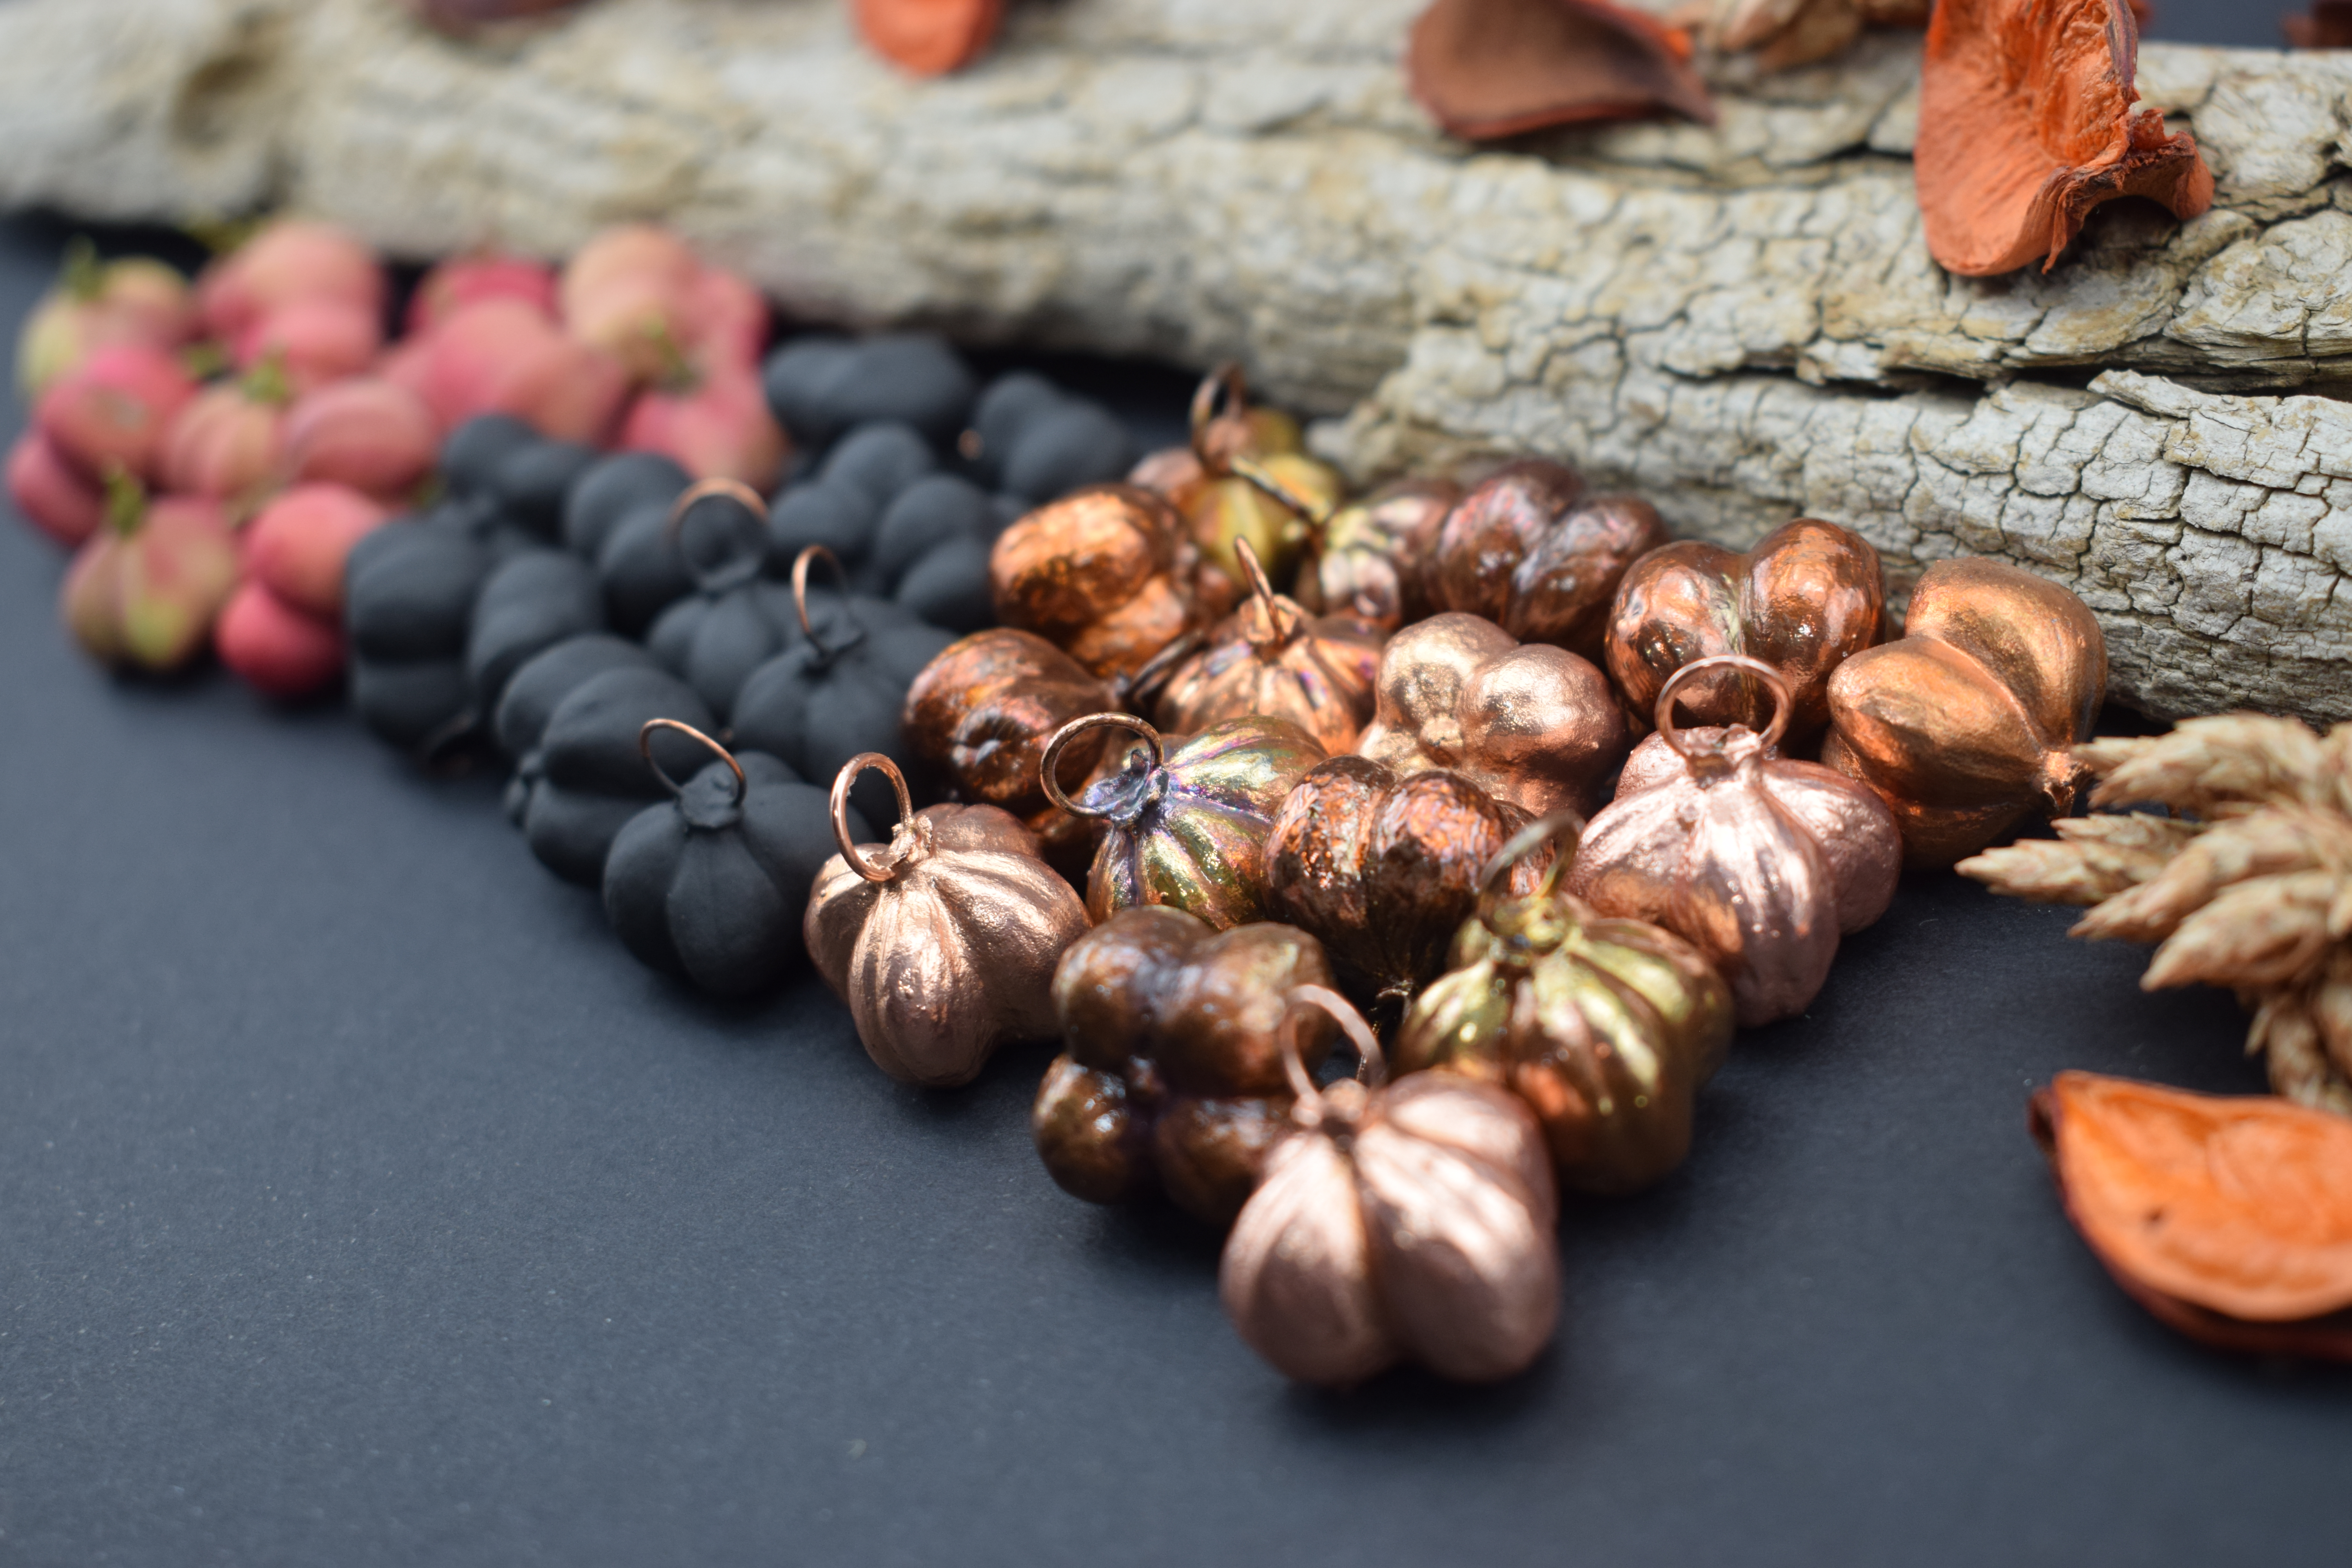
In a small glass, I prepared a solution of liver of sulfur to make patina. I wanted to make them orange, but sometimes they went out brown. I also left some with no patina to have a different range of colors.

Liver of sulfur is the chemical substance used to color copper and silver. It has
an intense smell produced by the evaporation of the sulfides, just like
rotten eggs. It's recommended to use a respirator mask or work in a
ventilated area.
Also, after we are done with our job, we need to neutralize it with baking soda or
better with bleach. You can also leave it to evaporate before flushing
in the drain. It's a toxic substance, we don't want to contribute to
pollution.
To protect those colors from oxidation, I covered them one by one with Zapon lack that needs two days to fully cure.

These mini pumpkins are versatile and can be adapted to any use. With a chain I made a pendant and by attaching earrings hooks they became earrings. They can also be included into a bracelet composition, or you name it.


If you really liked this easy project don't forget to check the video on YouTube.
Thank you all by CuForming and Happy Halloween!!!
Comments
Post a Comment